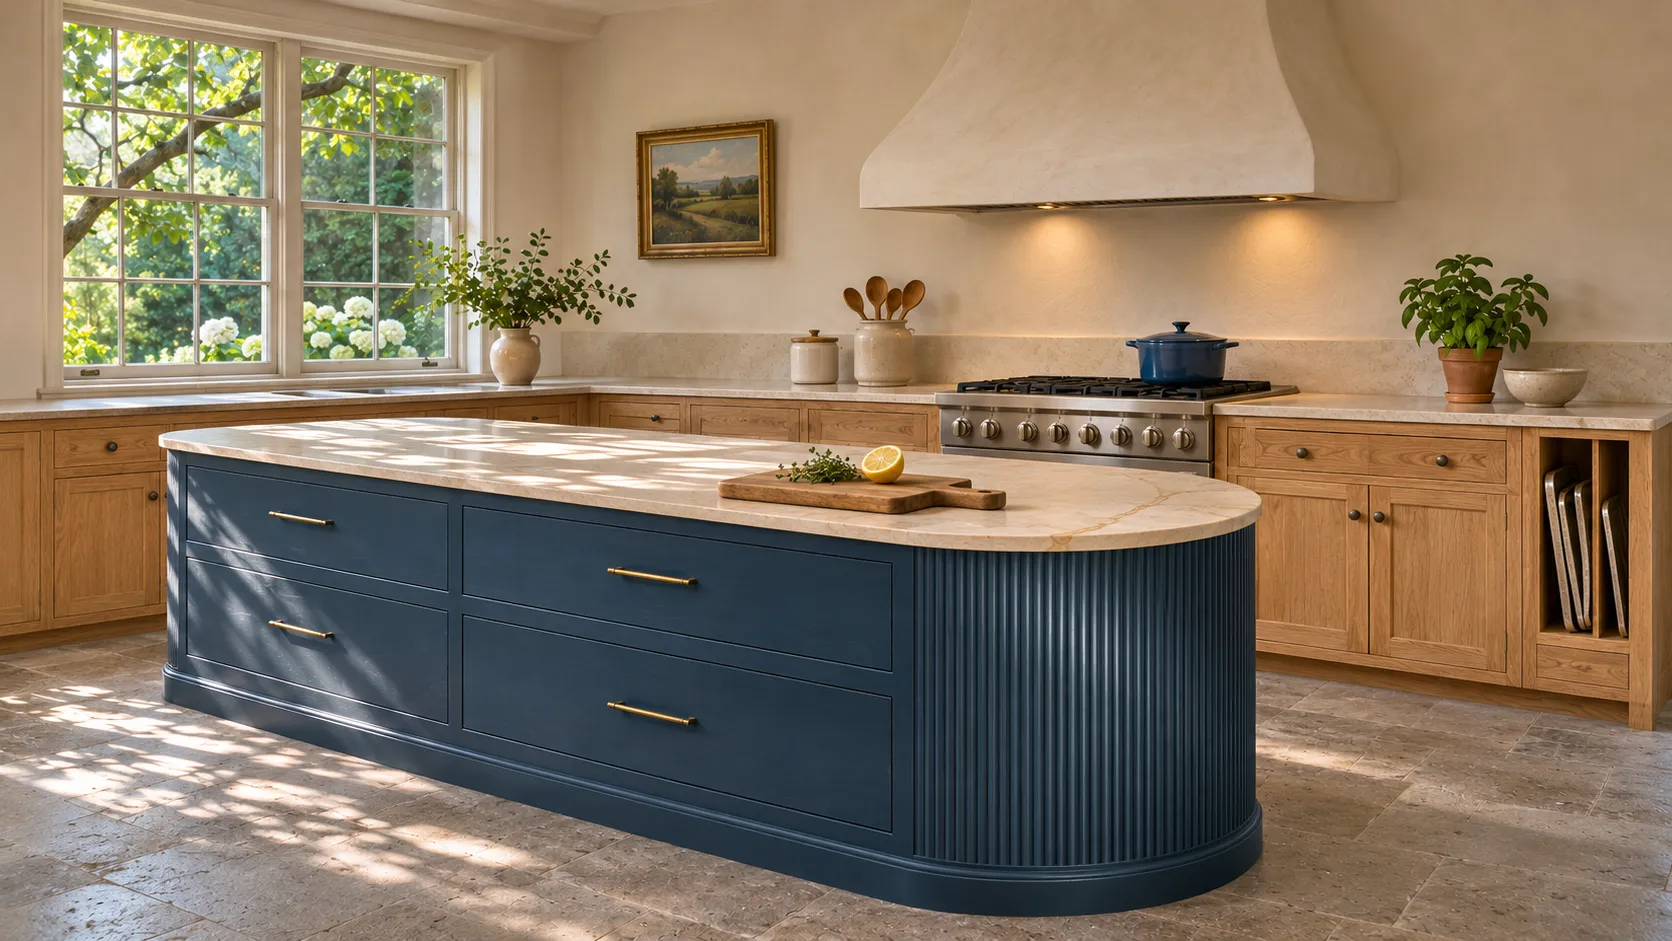
Kitchen Trends: 33 Ingenious Ideas for Easier Cooking
The onions are sizzling, the tortillas are warm, and the cumin is hiding behind six other jars. An angled spice drawer starts to look pretty good at a moment like that.
The best kitchen trends earn their place while you’re making dinner. These 33 ideas tackle the little things that slow you down, from finding room to chop to pulling a sheet pan from the bottom of a stack. Some take one drawer and a few minutes to try. Others, like a workstation sink, are worth considering when you remodel. As you read, think about the meal you cook most often. Which idea would make your hands, or your feet, do a little less work?
Workstation Sinks
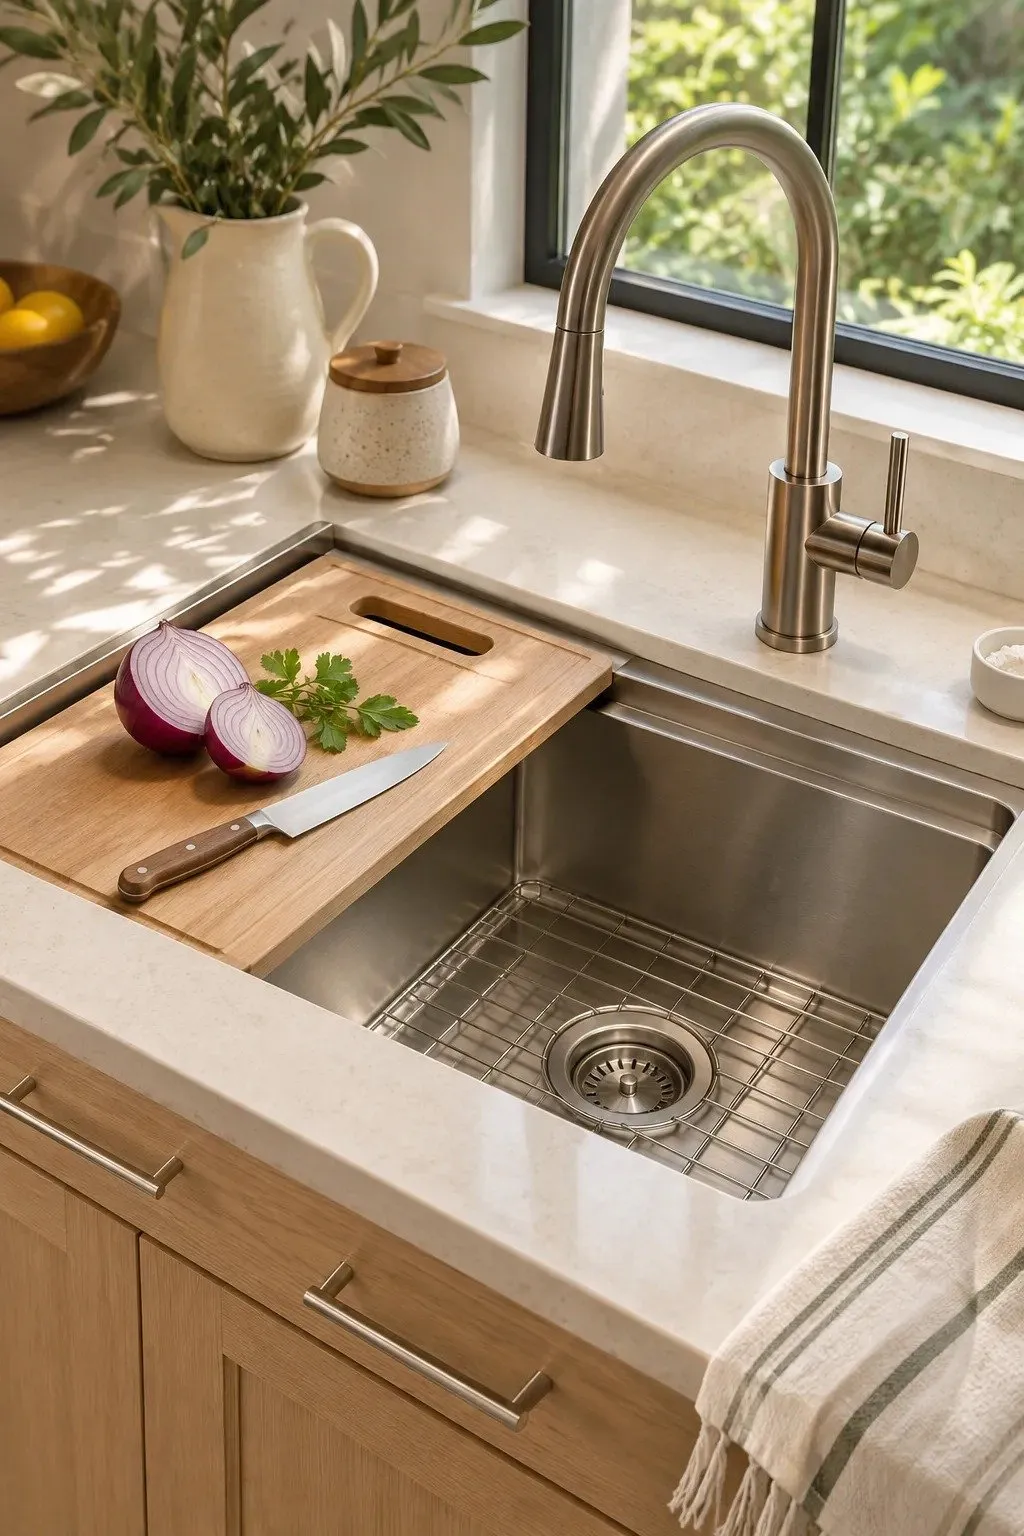
Where do you chop an onion when a sheet pan takes up your whole counter? A workstation sink gives you a second prep surface. Its inner ledge supports a fitted cutting board, so you can chop over one half of the basin and rinse vegetables in the other.
Before choosing a sink, measure your favorite cutting board and compare it with the one that comes with the basin. Some boards leave little room for a chef’s knife once the chopped onions start piling up. Check that the board slides past the faucet handle and lifts out easily for washing.
Deep Cookware Drawers
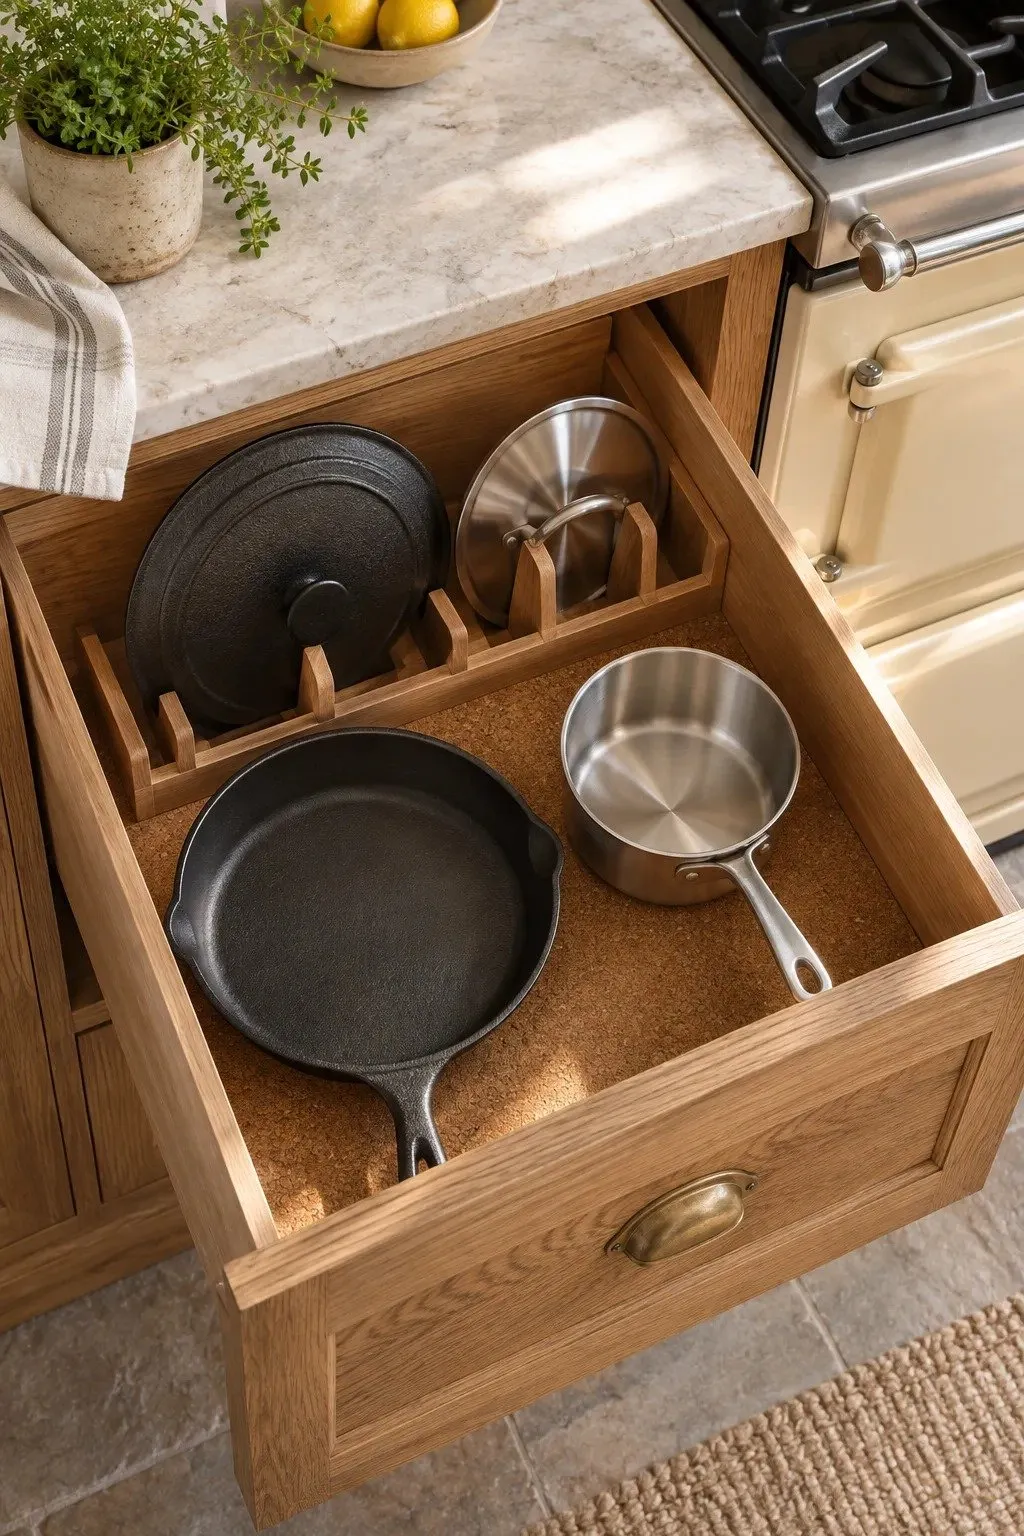
- Give your heaviest skillet its own spot so you can lift it out without unstacking three other pans.
- Measure your tallest pot with the lid on. Compare that height with the drawer’s usable interior depth.
- Set lids upright in an adjustable divider along one side. Leave enough space between slots for the knobs.
- Turn pan handles toward the corner that leaves the most room for your hand to reach in and grip them.
Before ordering a drawer, mark its inside dimensions on your kitchen table with painter’s tape. Arrange the cookware you reach for on a typical Tuesday inside that outline. You may find that two pans fit neatly side by side until their handles enter the picture. A quarter turn can solve that.
Under-Cabinet Prep Lighting

Quick Tip:
Chop a mushroom at your usual prep spot and watch where your shadow falls. If your hand shades the blade, test a strip light near the front underside of the upper cabinet so light reaches the board from ahead of you.
A frosted cover spreads the light into a continuous band and softens reflections on polished counters. Before fixing the strip in place, hold it at two or three depths with the overhead lights off. Choose the position that lights the front of your board while keeping the strip hidden from seated diners.
Vertical Sheet Pan Storage
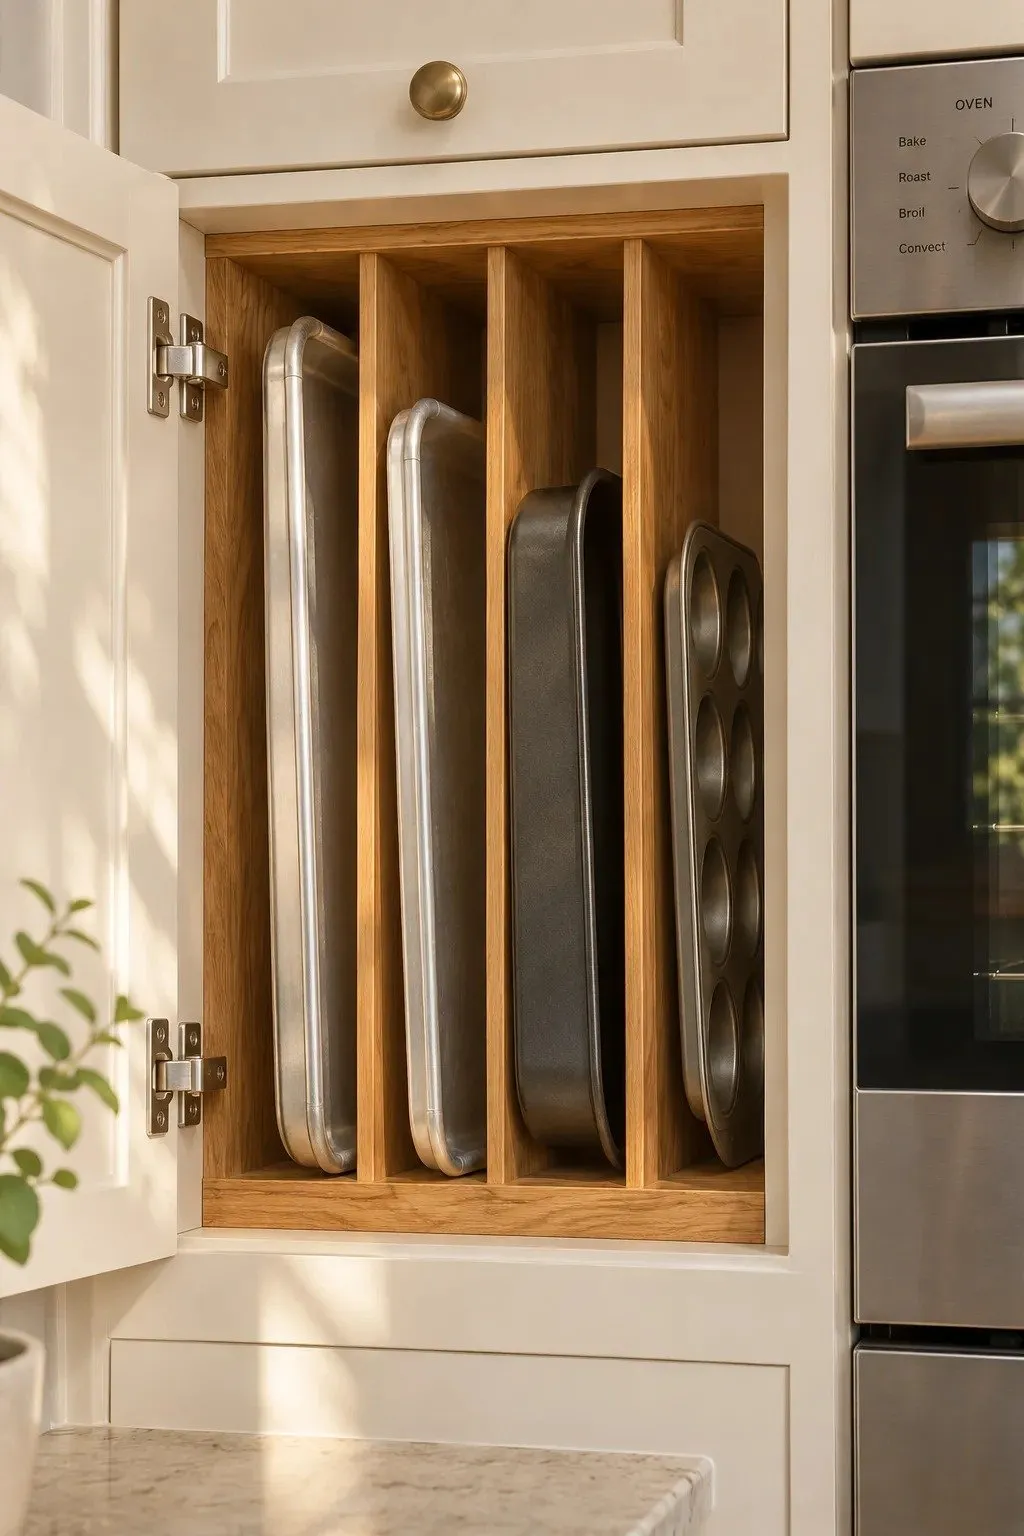
BEFORE: The sheet pan you need for roasted potatoes sits at the bottom of the stack. You lift the muffin tin with one hand and tug at the pan with the other, bringing half the pile with it.
AFTER: Each pan rests on its long edge in a narrow slot. You can see the rim of the pan you want and slide it straight onto the counter.
Test the spacing with your actual bakeware before fixing the dividers in place. A flat cookie sheet needs very little width, while a roasting tin with flared handles may need a slot of its own. Leave enough room above each pan to curl your fingers over the rim.
Prep Utensil Rails
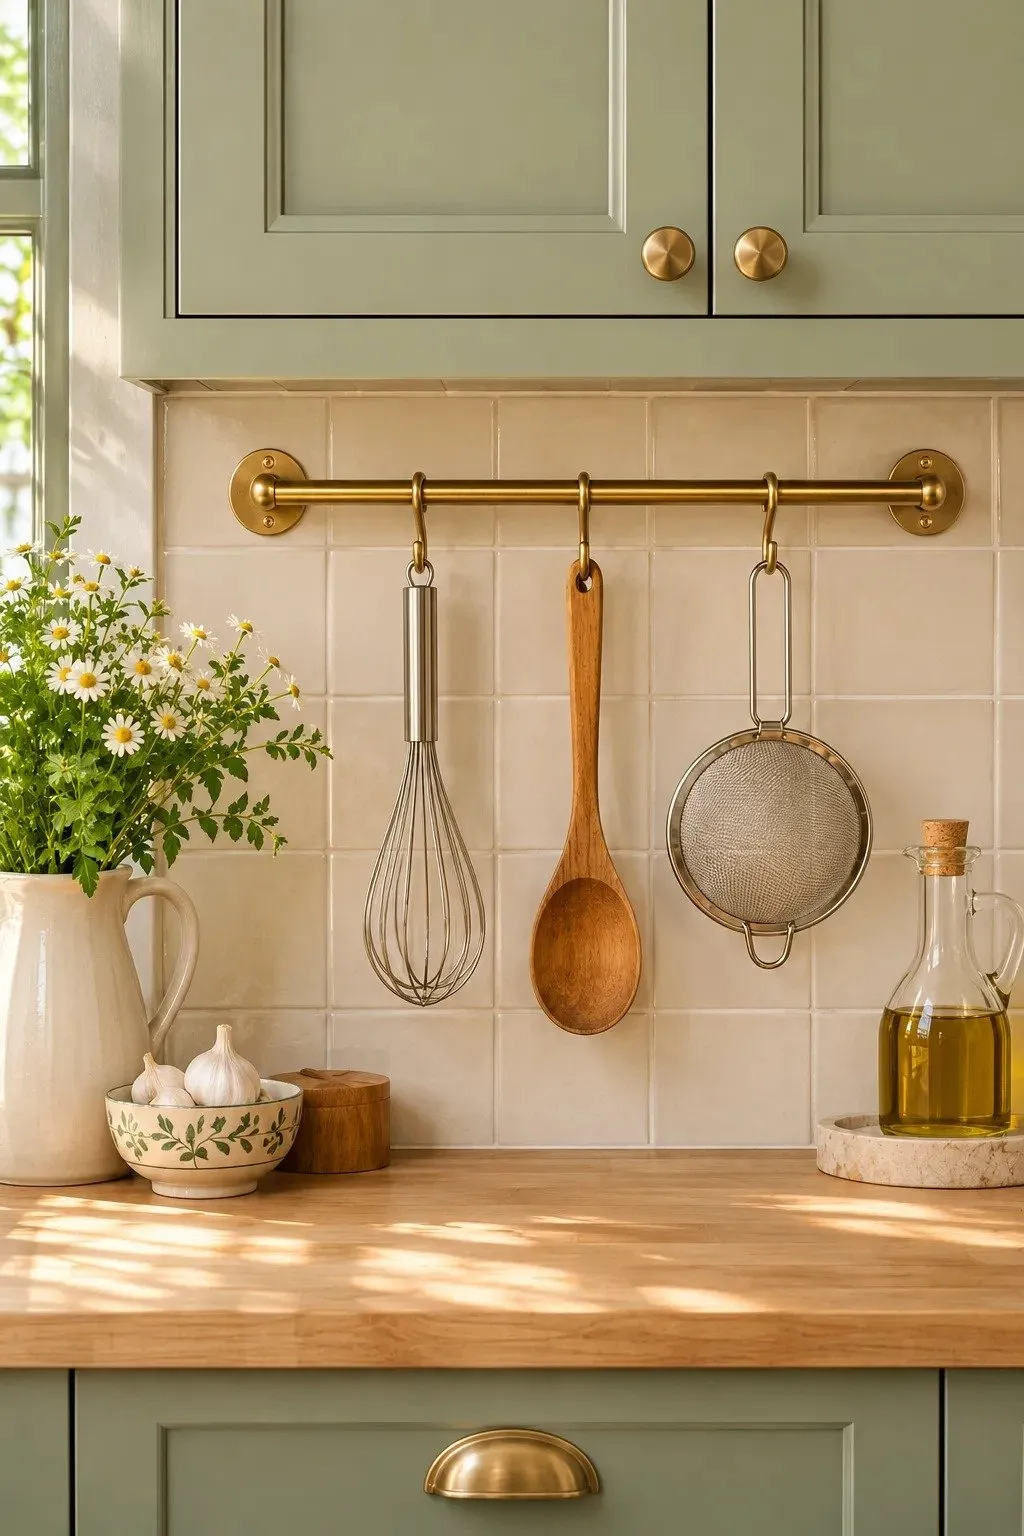
- Think back to the last dinner you cooked. Set out the three or four hanging utensils you reached for most.
- Mark a spot for the rail above your main prep counter. Hold the longest utensil against the wall to check that it clears the worktop.
- Space the hooks with the tools hanging from them. Give wide pieces, such as a sieve, enough room to lift off without catching the next hook.
- Mount the rail with fixings suited to your wall, then place your most-used tool on the hook nearest your cutting board.
A rail earns its wall space when you can grab a tool mid-recipe and keep working. If you often whisk a dressing while the vegetables roast, give the whisk an easy reach. Leave one hook empty for the tool that changes with the meal, such as a potato masher on Sunday.
Rolling Prep Islands
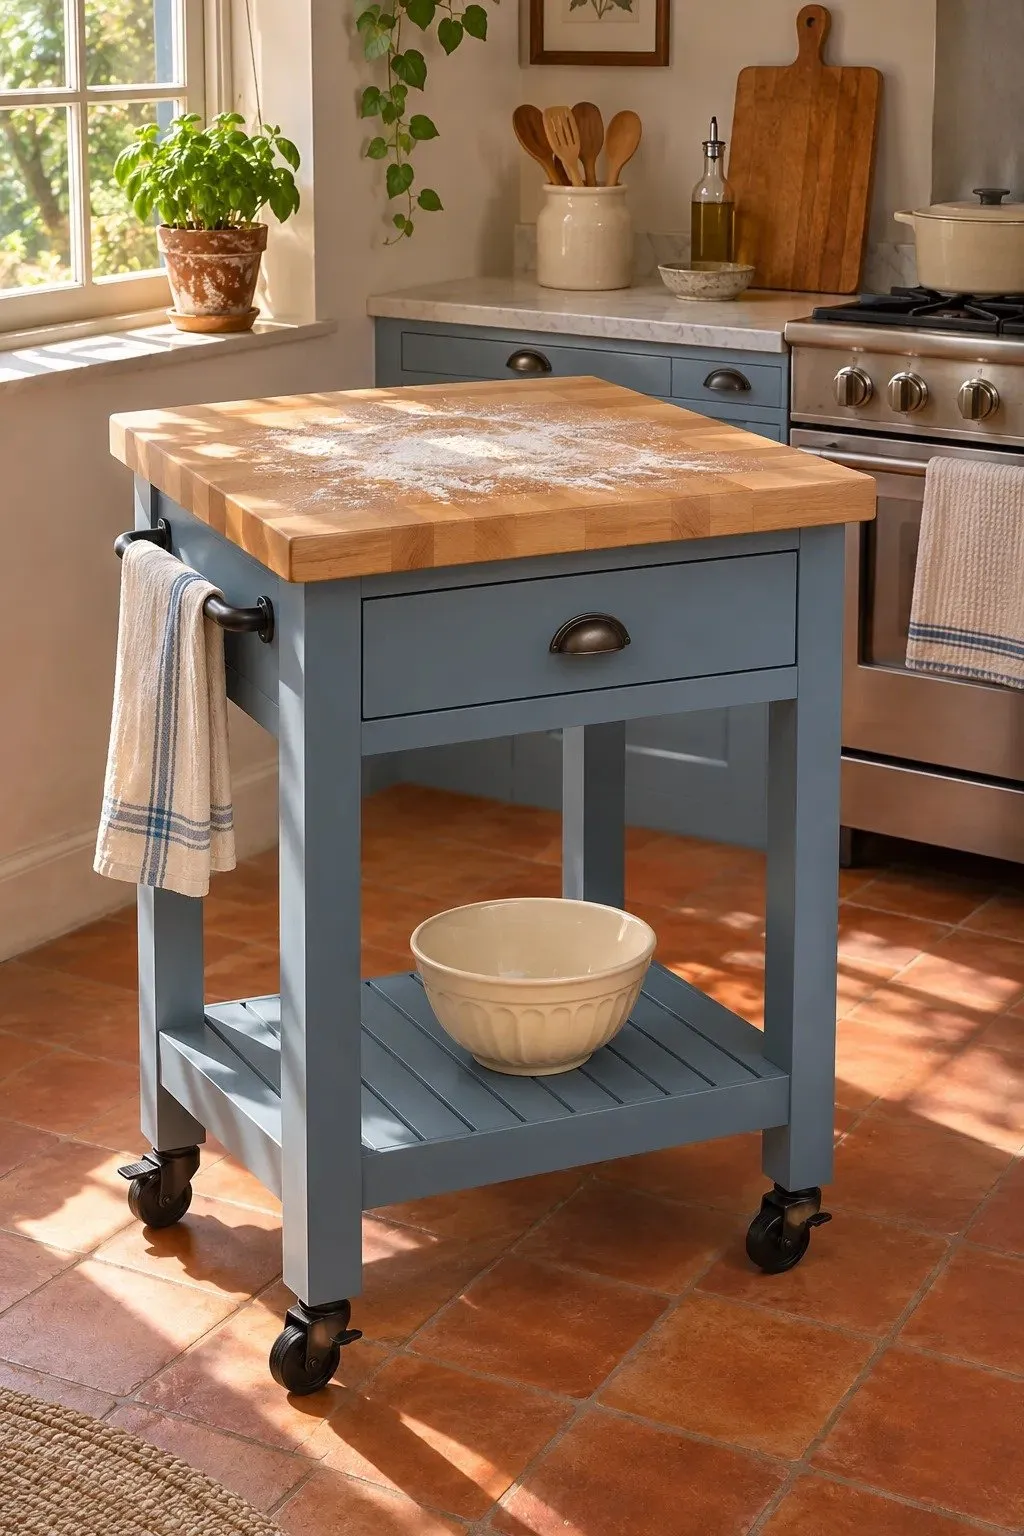
| Prep task | Butcher block top | Stainless steel top |
|---|---|---|
| Chopping vegetables | An unfinished or food-safe oiled block can double as a cutting board. | Set a cutting board on a damp towel to steady it on the smooth top. |
| Rolling pastry | A light dusting of flour keeps dough from sticking to the grain. | The smooth surface makes it easy to lift sticky dough with a bench scraper. |
| Cleaning up | Wipe the wood dry after washing and follow its oiling instructions. | Wipe away spills, then dry the surface to reduce water spots. |
Could a cart give you extra elbow room on pizza night and still leave the fridge door free to swing? Mark its footprint on the floor with tape, then open nearby doors and drawers. Check both the spot where you’ll park it and the spot where you’ll lock the wheels for prep.
Angled Spice Drawers
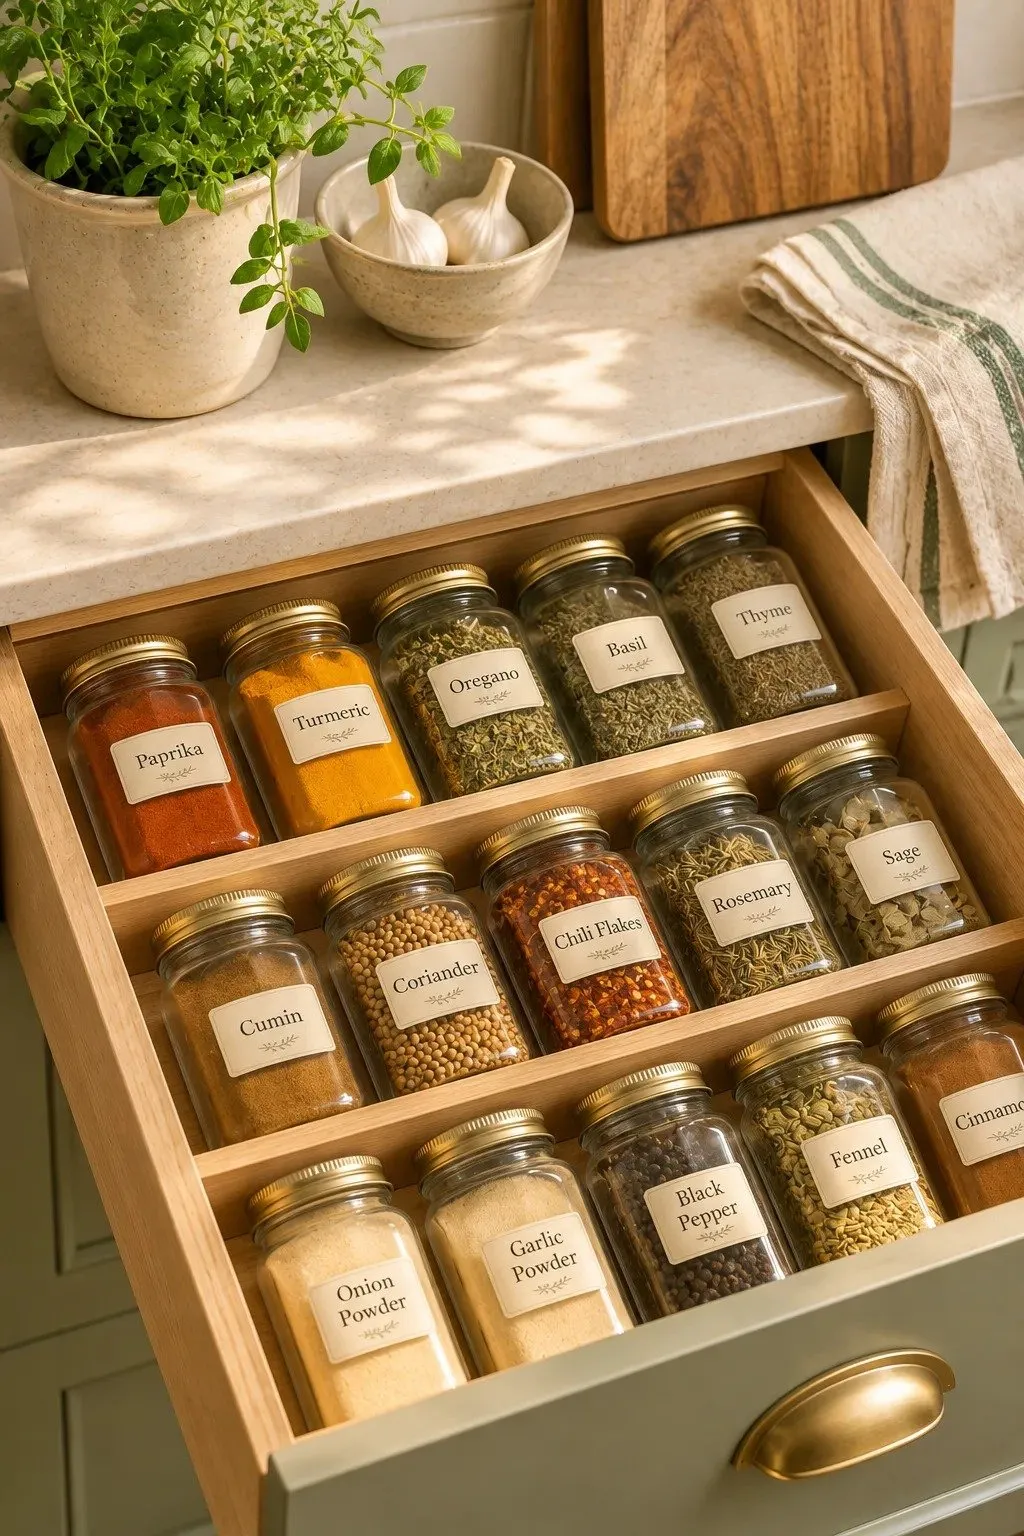
DO
- Give the spices that go into your usual weeknight dinner the front row.
- Lay one jar on the angled insert and close the drawer gently to check clearance.
- Turn each label faceup so you can tell cumin from coriander at a glance.
DON’T
- Don’t pour a fresh refill over the last spoonful in an older jar.
- Don’t force tall grinders into slots sized for short jars.
- Don’t let an insert slide forward each time you open the drawer.
Start with the jars you already own. For taco night, lay cumin, smoked paprika, and oregano side by side, then test whether you can pick up the middle jar without nudging its neighbors. A strip of nonslip liner beneath the insert keeps that arrangement in place when you pull the drawer open.
Mixer Lift Shelves

Best for: Bakers who haul a heavy stand mixer out for every batch.
Space needed: A base cabinet wide enough for the mixer, shelf, and lift hardware.
Weight check: Match the mixer and shelf weight to the lift manufacturer’s rating.
Clearance check: Allow room to tilt the mixer head or lower the bowl, depending on your model.
Before choosing the hardware, run through a batch of cookies with your mixer where the raised shelf would sit. Can you tip in flour, scrape the bowl, and remove the beater from that position? An extra inch beside the bowl can matter more than an inch behind the machine.
Refrigerator Landing Counters
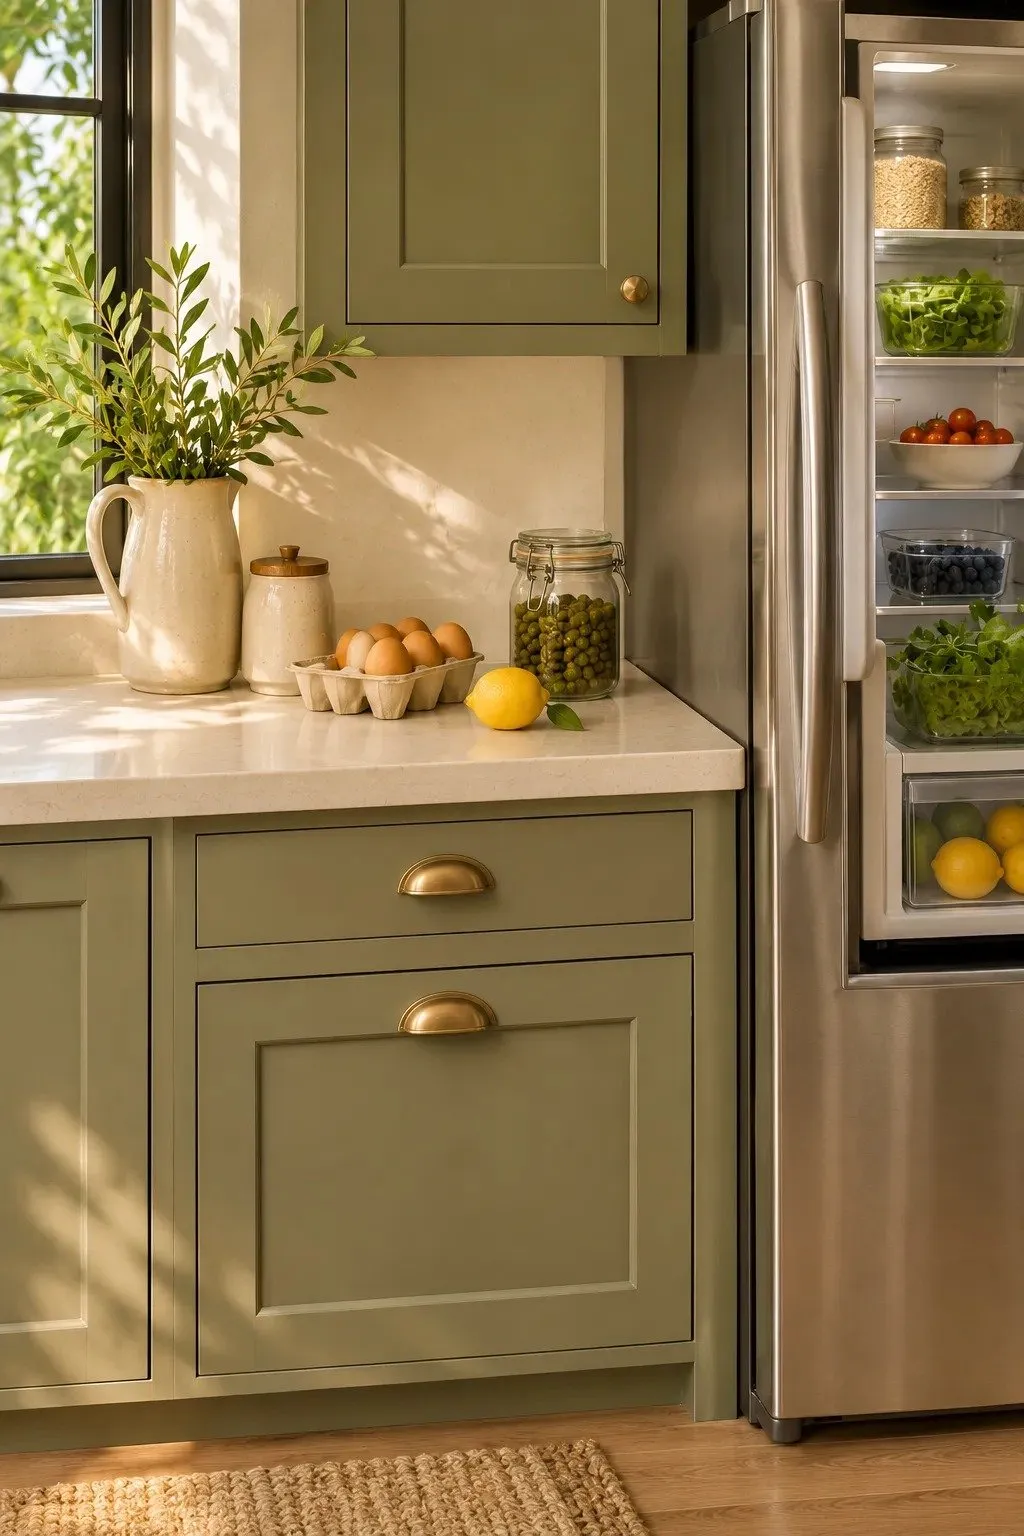
A carton of eggs tucked under your elbow is a good argument for a clear counter beside the fridge. Among kitchen trends worth borrowing, this one can be as simple as moving the fruit bowl. Reserve enough space to set down several ingredients within reach of the open door.
Check which way the door swings before picking your spot. Stand where you usually reach for the milk and see whether you can set it down in one motion. If the door comes between you and the counter, the near end of an island may make a better landing place.
Breakfast Toast Stations
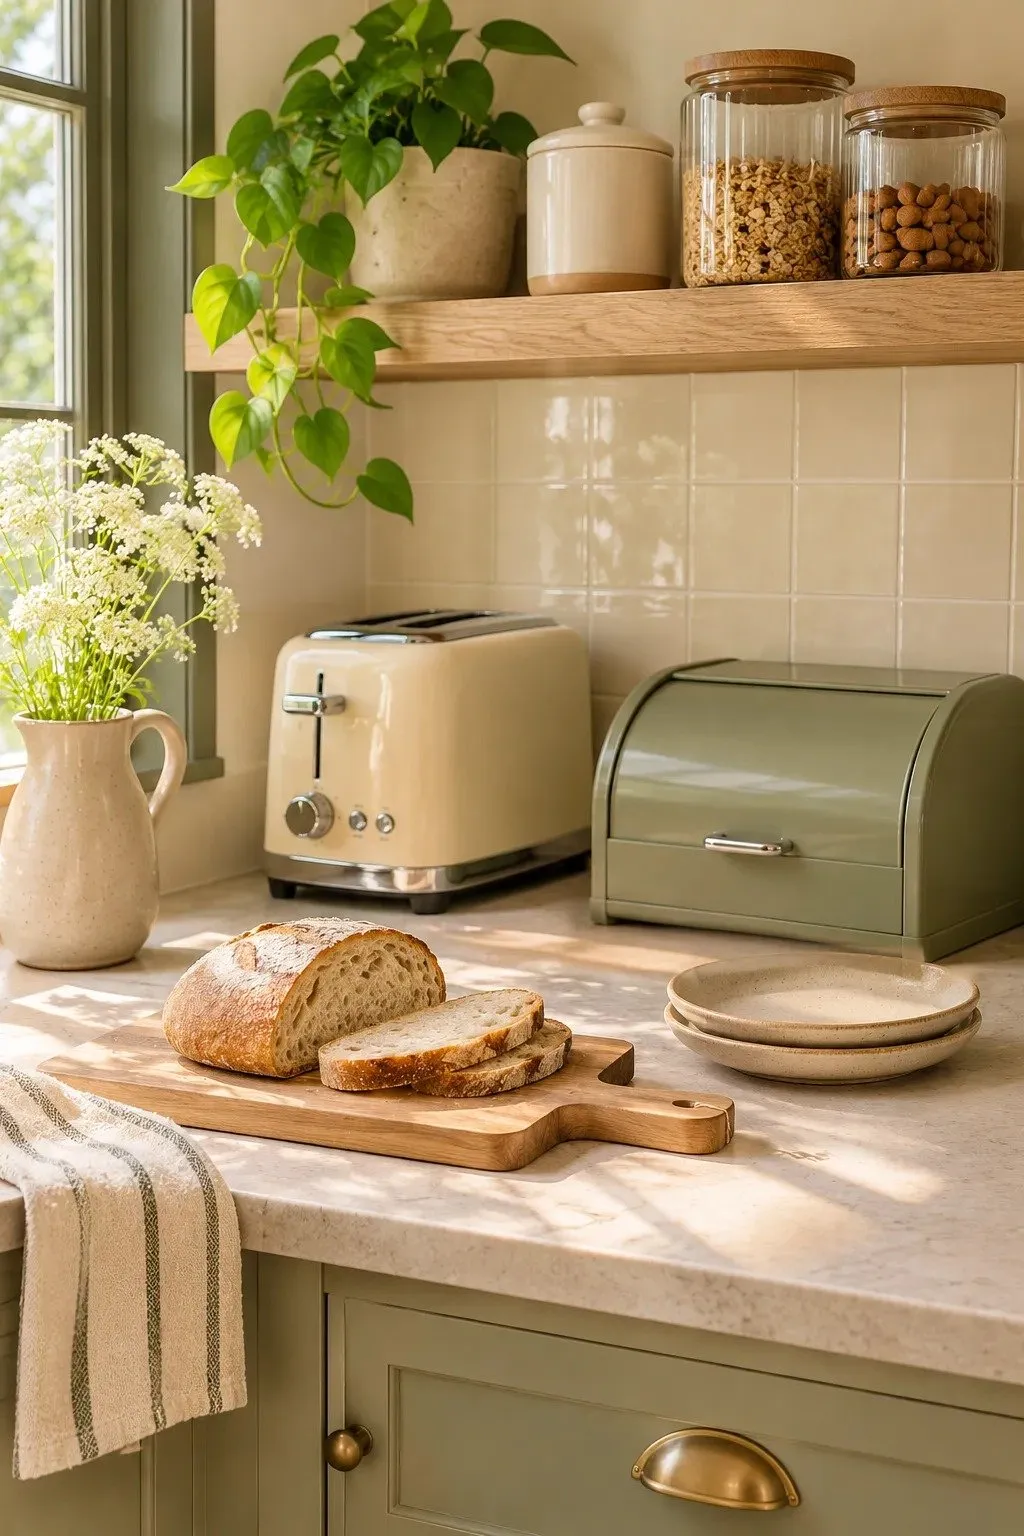
- Give the toast its own spot to land. Set a small board or plate beside the toaster where you can butter a slice while it’s warm.
- Keep the bread bin within reach and check that its lid opens fully beneath any shelves.
- Store a butter knife and a pair of small tongs in the drawer below for spreading butter and serving toppings.
- Choose a stretch of counter where someone can make breakfast while another person uses the stove.
The best place for a toast station often reveals itself on a busy morning. Follow the person making breakfast and notice where they cross paths with the cook. Even moving the toaster to the opposite end of the same counter can give both people enough room to finish what they started.
Cookbook Ledges
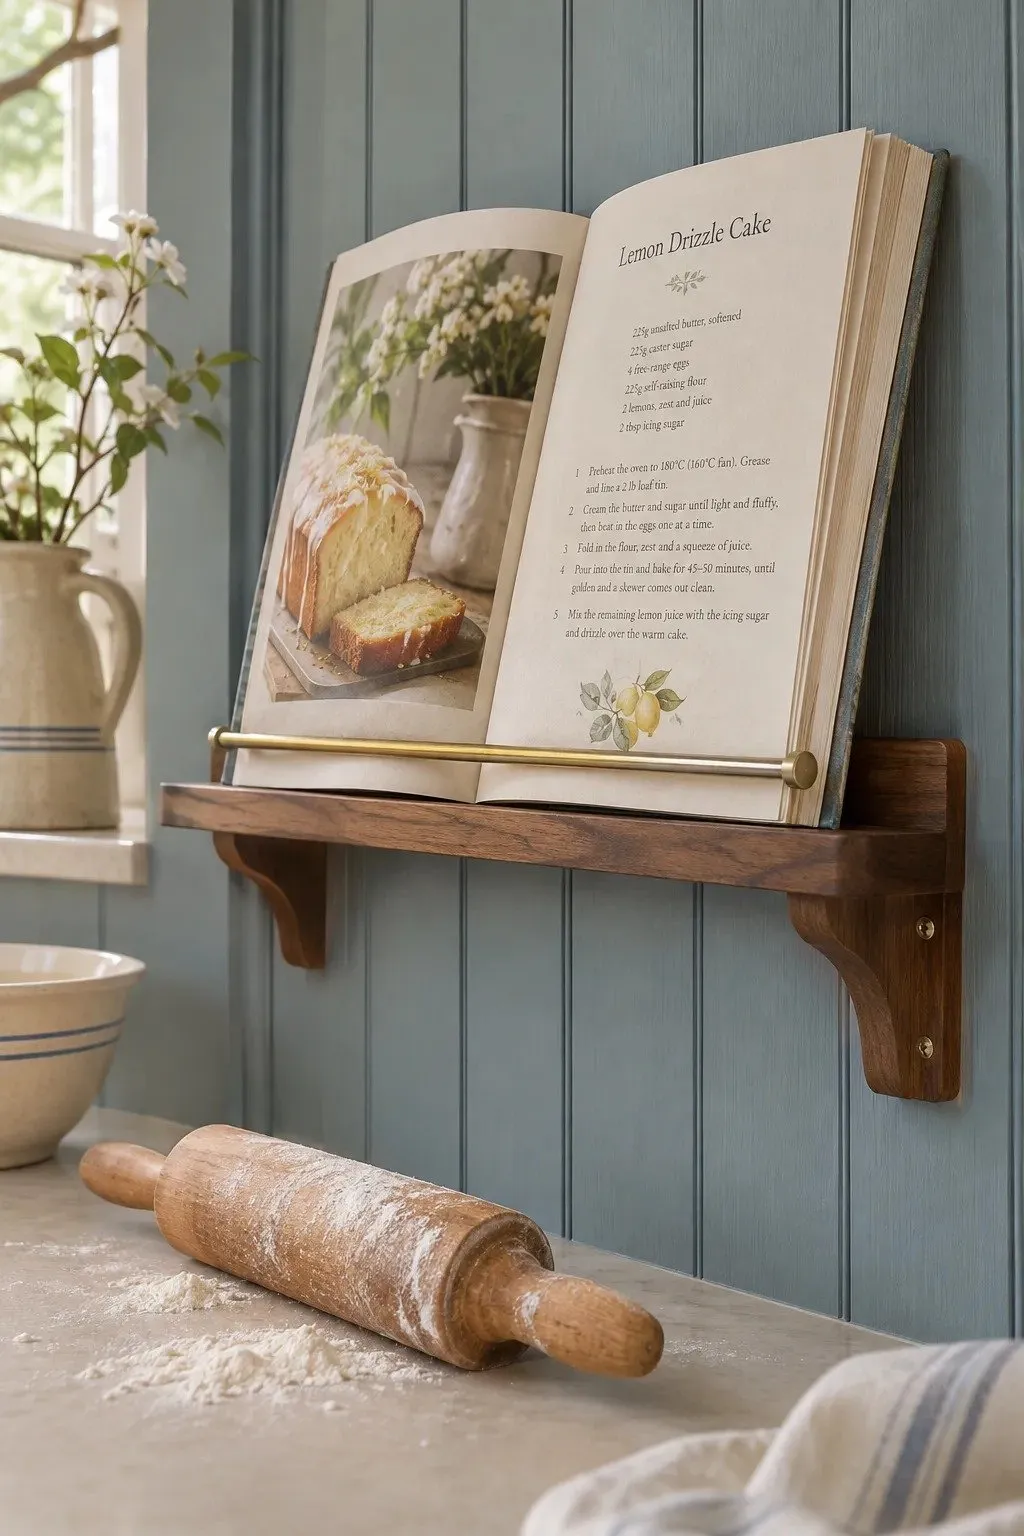
Quick Tip:
Open your heaviest cookbook to a recipe near the front, where the pages tend to spring shut. Test the ledge depth and retaining rail with the book in that position before deciding where to mount them.
Set the height by reading an ingredient list from the spot where you mix dough. You should be able to glance up for the next quantity without leaning across the bowl. Check that the rail sits below the last line of print, especially on smaller books with narrow margins.
Pullout Compost Bins
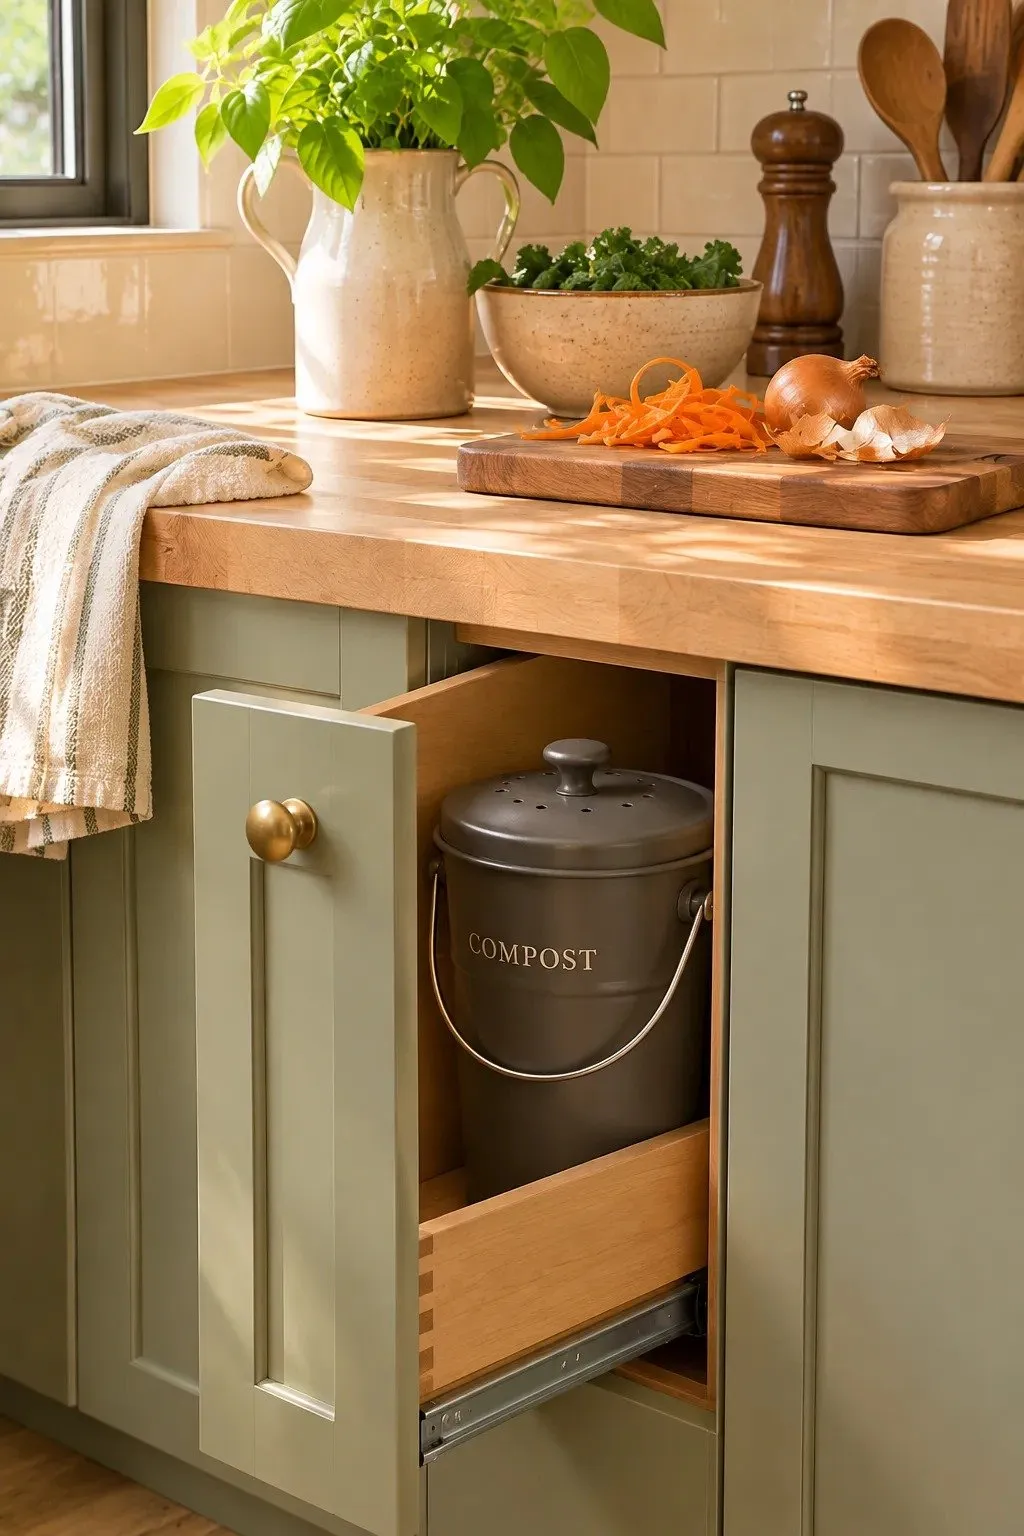
BEFORE: A mound of carrot peels claims the corner of your cutting board halfway through chopping vegetables for soup. You cup the scraps in both hands for the walk to the bin, and a few onion skins drift to the floor.
AFTER: A compost pail slides out beneath the prep counter. Turn the board toward the opening and sweep the peels into the pail with a bench scraper while the chopped carrots stay at the other end.
Check the fit with the pullout fully extended. The pail should lift straight out by its handle without catching on the counter lip. If you empty scraps after dinner, a small pail you can carry in one hand leaves more cabinet room for liners or a spare dish brush.
Freezer File Bins

- Pull out the freezer drawer and find the packet that always disappears beneath the others. Use it to judge how wide your first bin should be.
- Label filled freezer bags along the top edge with the contents and date. Lay bags of sauce flat on a tray until frozen.
- Stand the frozen bags upright in the bin with their labels facing the same way. Keep a separate bin for smaller packets that would slip between them.
- File newer portions at the back so the oldest are the first ones you see.
Think about what you look for at six on a weeknight. If that’s usually something to spoon over pasta, keep the sauce bin at the front. You can flip through the labels with one hand and pull out dinner without unloading a stack of frozen bags onto the counter.
Pantry Door Racks
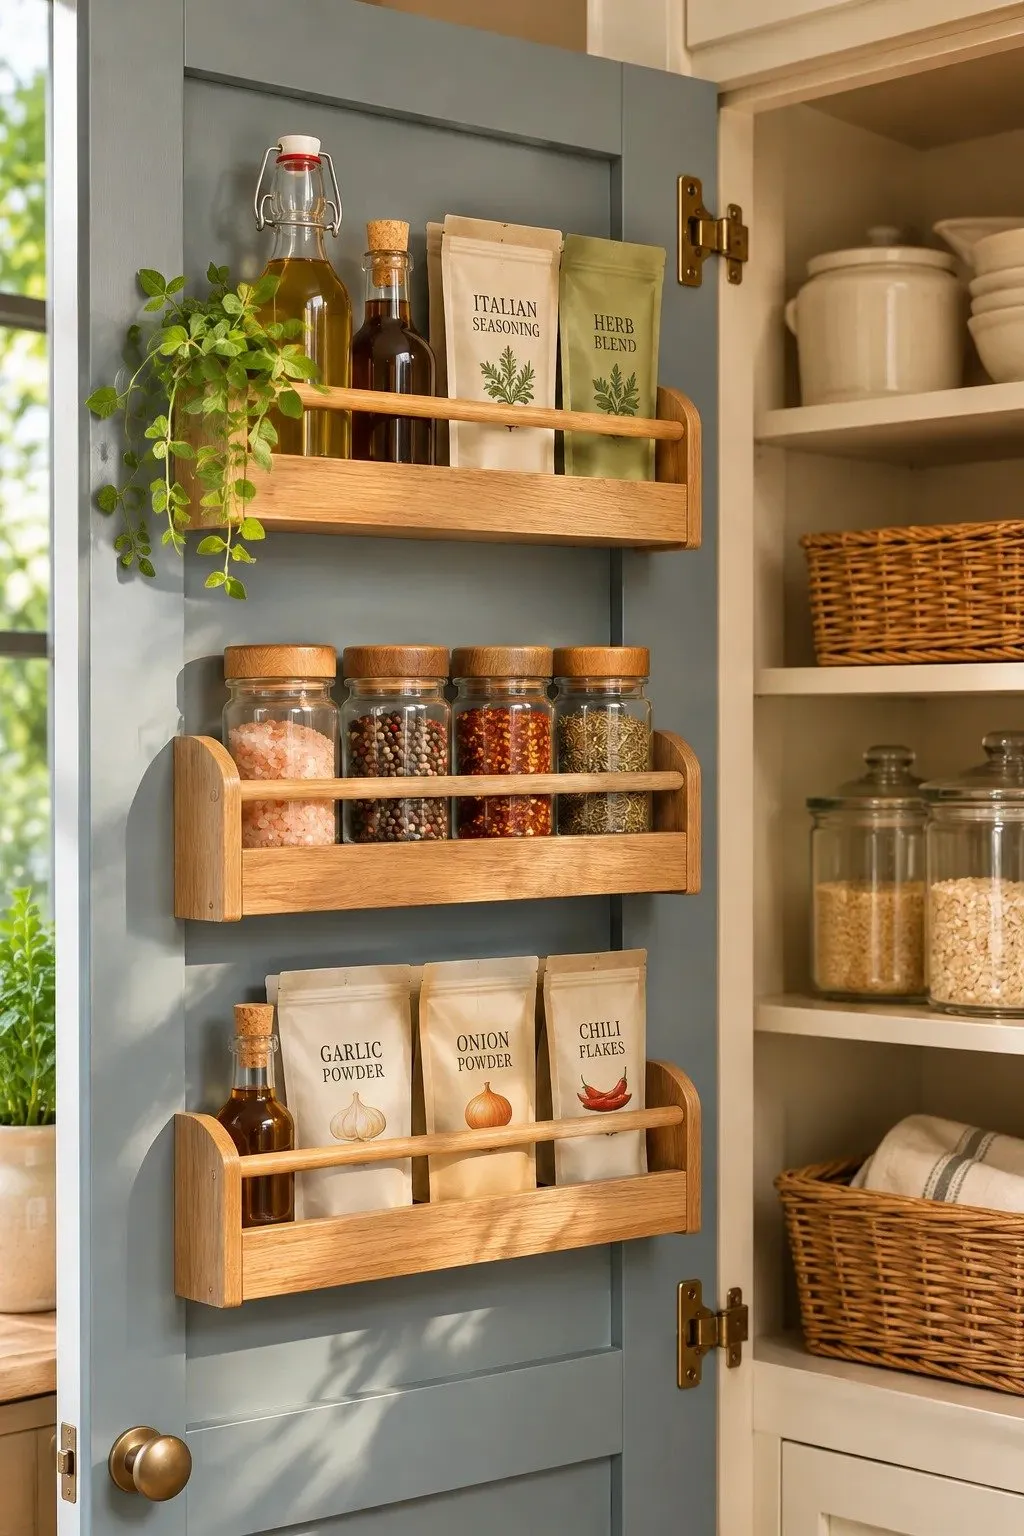
| Design detail | Shallow wooden ledges | Wire baskets |
|---|---|---|
| What stays visible | A low front rail leaves small jar labels easy to read. | Open sides let you spot a tall bottle from an angle. |
| What stays put | A solid base supports narrow tins and small boxes of baking powder. | A deeper rim supports taller bottles. Choose a solid liner for loose packets. |
| What to measure | Include the front rail when measuring how far a ledge projects. | Measure the widest part of the basket, especially if the rim flares outward. |
A rack can fit the door perfectly and still bump a pantry shelf. Cut a piece of cardboard to the depth of the loaded rack, hold it at the intended height, and ease the door closed. Test near the hinge as well as the handle, since the two sides follow different arcs.
Fold-Down Prep Tables
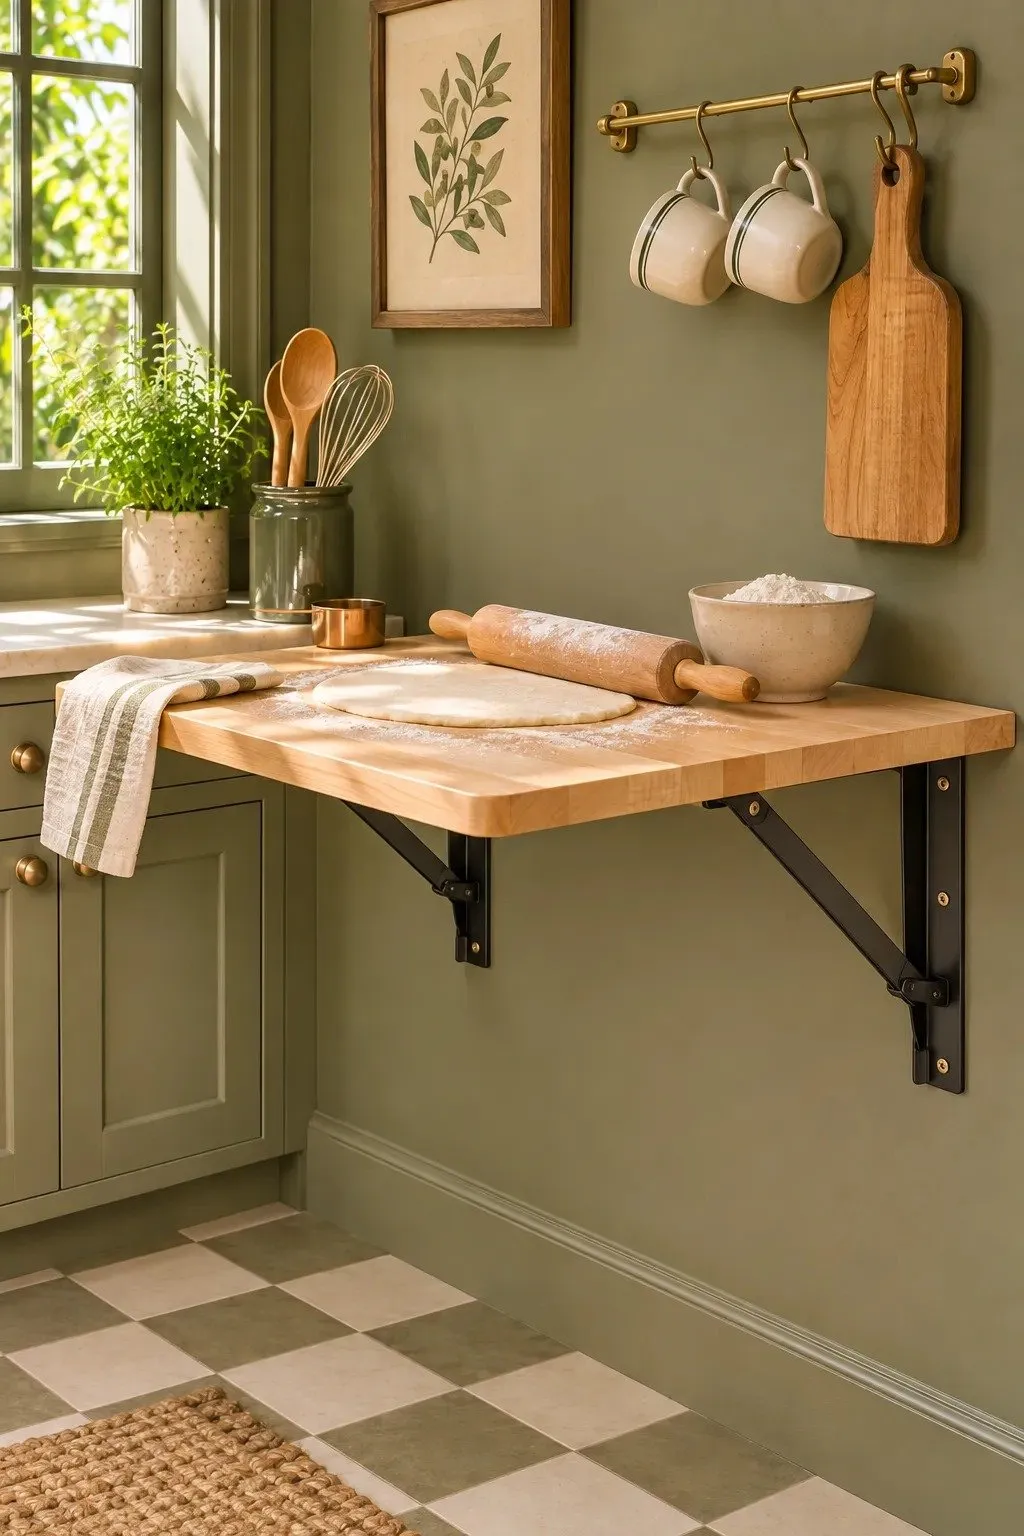
DO
- Unroll your widest sheet of pastry paper against the wall to see how much work surface you’ll actually use.
- Match the open table height to a counter where you already feel comfortable chopping or rolling dough.
- Choose locking supports and wall fixings suited to the surface and the load you plan to put on it.
DON’T
- Don’t position the open table where it blocks the oven door or the route to the sink.
- Don’t put a bracket release where your knee can bump it while you work.
- Don’t cover the entire tabletop with a pastry board so heavy you dread lifting it off.
For a galley kitchen, test the footprint with a flattened carton before committing to a tabletop. Hold it at counter height while someone carries a dinner plate past you. Trimming a few inches from the outer edge may preserve the walkway and still leave plenty of room for rolling out a pie crust.
Swing-Out Corner Shelves

Best for: The corner cabinet you practically have to kneel inside to find the Dutch oven.
Key measurement: The clear door opening with the hinges in place.
Weight check: The load rating of each shelf, especially if you store cast iron.
Layout check: Enough room for a loaded shelf to swing past nearby cabinet handles.
Bring the measurements of your largest pot when you look at shelf shapes. A curved shelf can clear the cabinet door beautifully yet have a narrow middle that leaves a wide pot handle sticking out. Trace the usable outline on paper and set the pot on it with both handles inside the line.
Windowsill Herb Pots
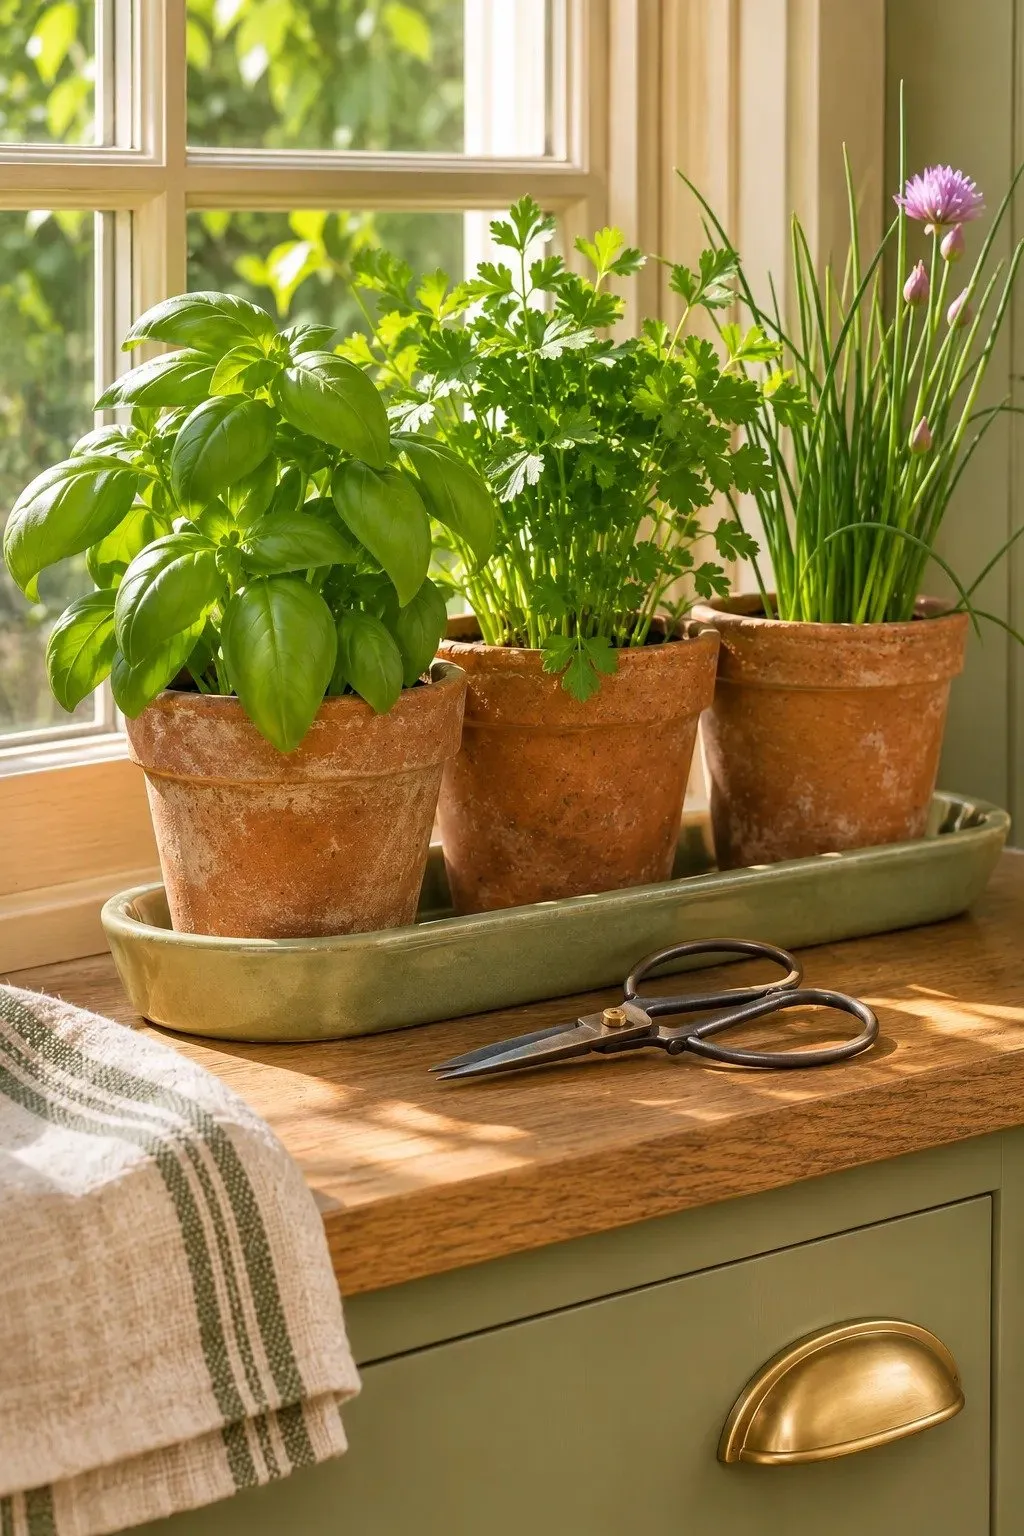
A few chives can finish scrambled eggs while the toast is still warm. Give the herbs you cook with most a place by a bright kitchen window. Separate pots let you lift the parsley down to the cutting board and leave the basil in place when it needs watering.
Choose pots with drainage holes and set them on a tray you can lift with one hand. Before filling them, open the window and turn the latch to check the fit. Leave a little room beside the tray for scissors so you can snip just enough for one plate.
Pocket Door Appliance Garages
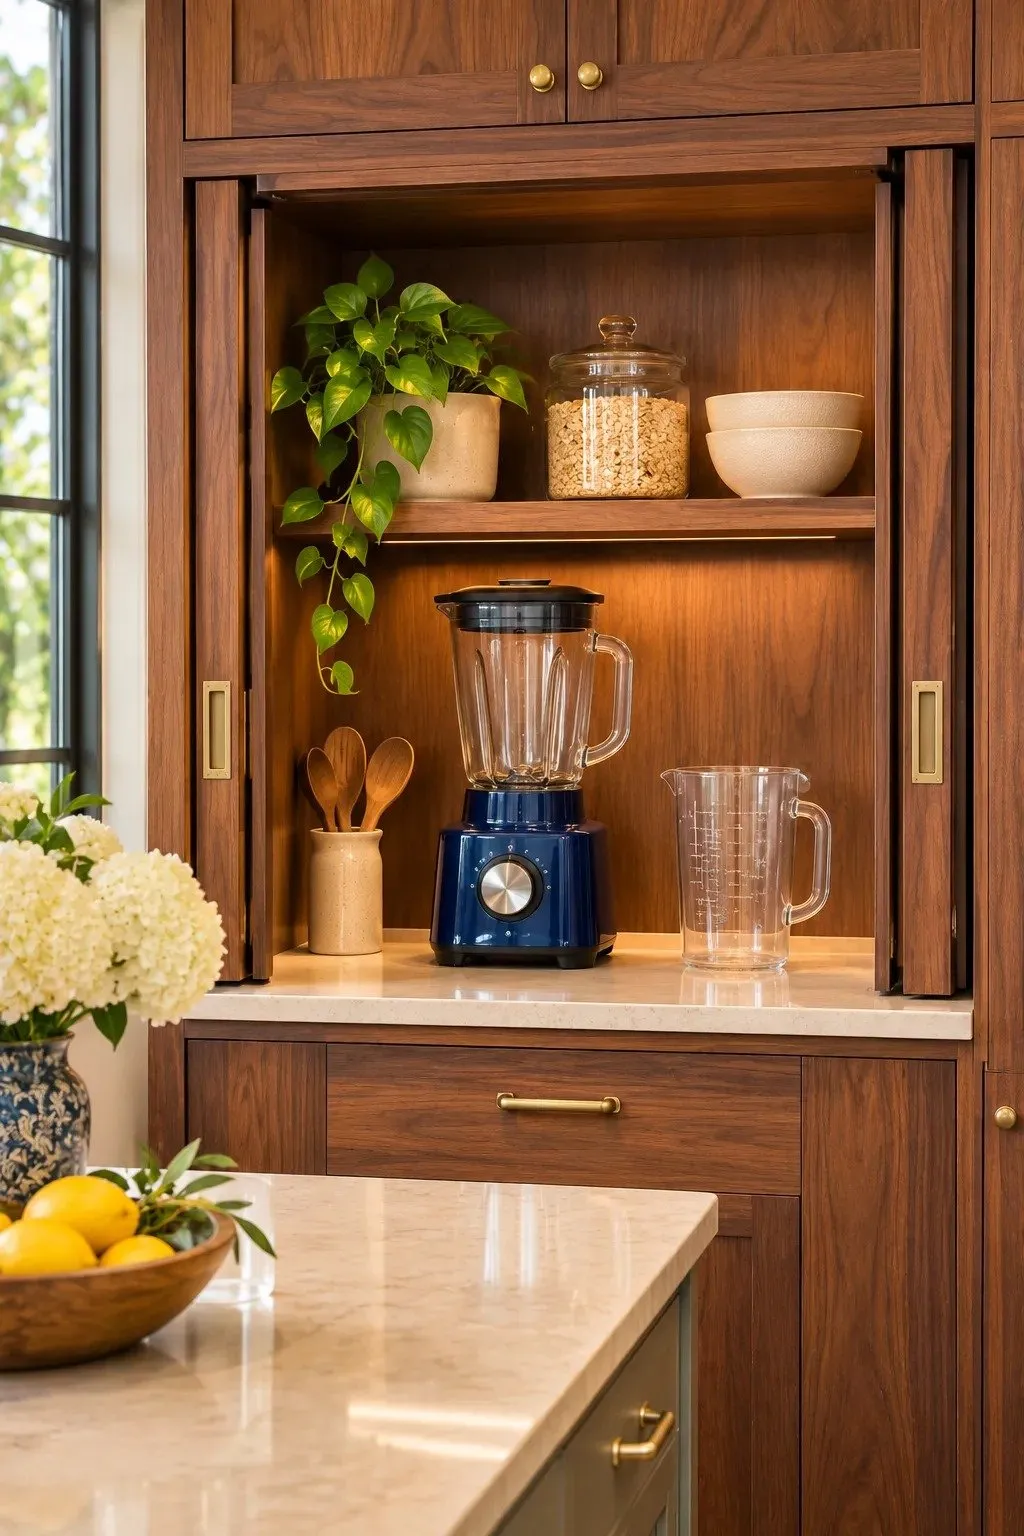
- Measure your blender with the pitcher and lid attached. Taking it apart after every smoothie defeats much of the convenience.
- Measure the usable opening with both doors tucked away. The side pockets take up some of the cabinet width.
- Leave a clear strip of counter in front so you can pull the blender forward, add ingredients, and lift the lid.
- Check that the cord reaches the outlet with the appliance in its working position.
Give the front row to the appliance you used this morning. A blender tucked behind a waffle iron still takes two hands and some rearranging to reach. If you make smoothies daily, keep the blender by the opening and store the waffle iron on a separate shelf with its cord gathered.
Pull-Down Kitchen Faucets
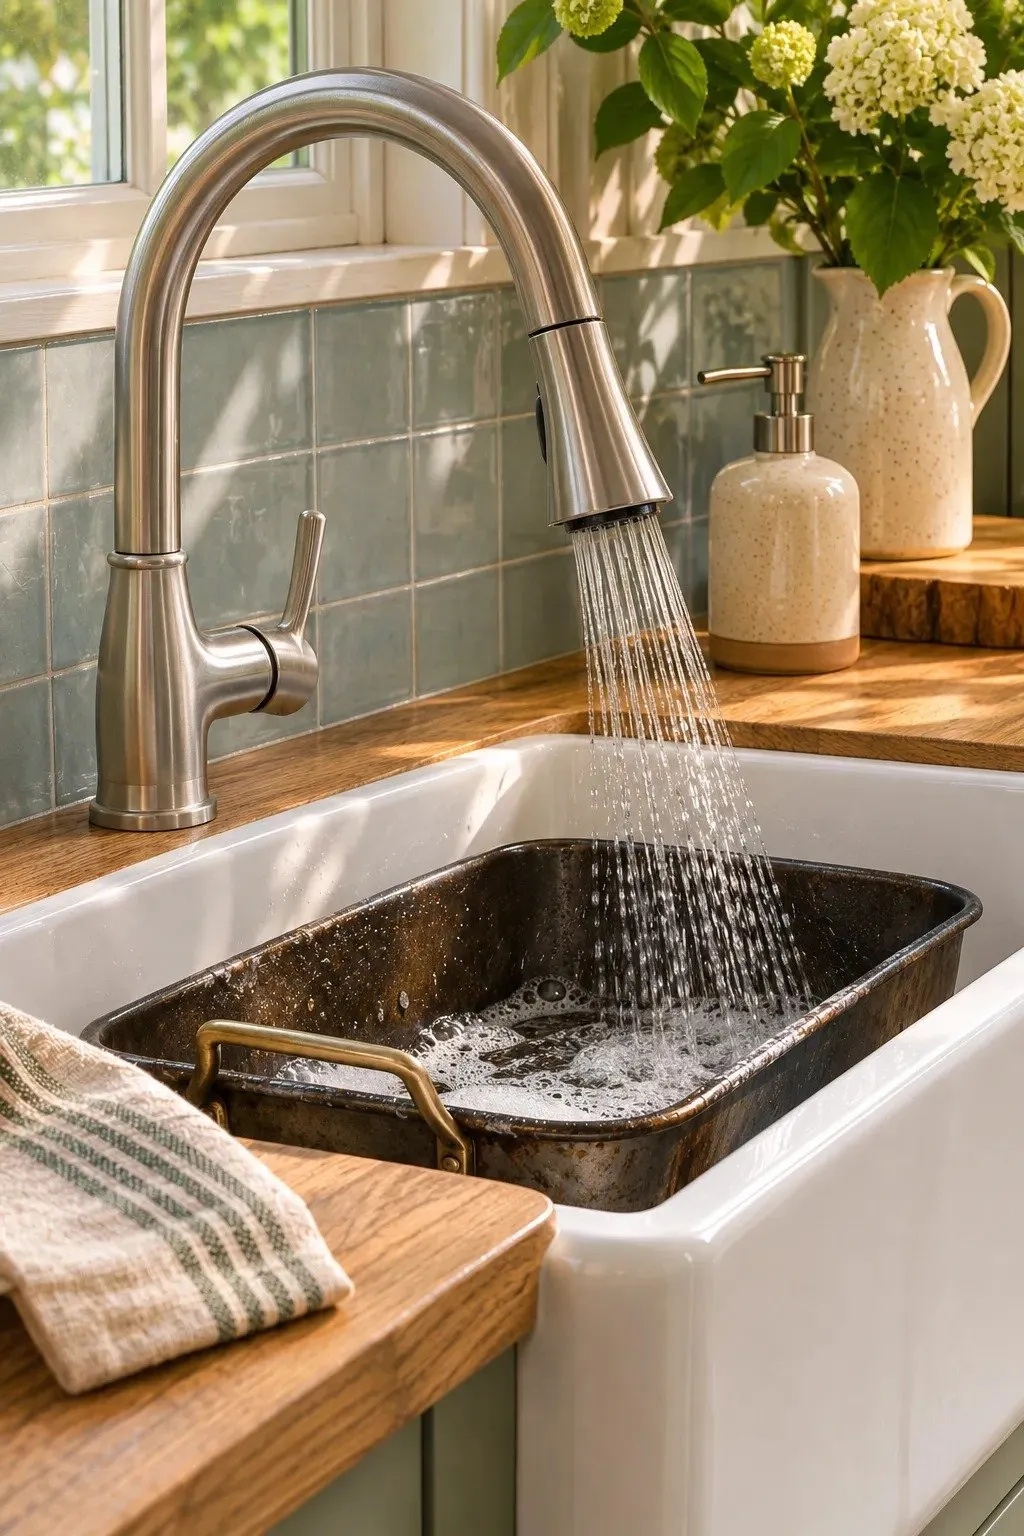
Quick Tip:
Use your widest roasting pan as the measuring stick for a pull-down faucet. Set it in the sink and check whether the spray head can reach all four corners while the pan rests flat.
Pay attention to the spray controls as well as the hose length. A button you can feel with your thumb lets you switch from a stream to a spray while your other hand holds a colander. At a showroom sink, try that motion with the hand you normally use for rinsing.
Slab Backsplashes
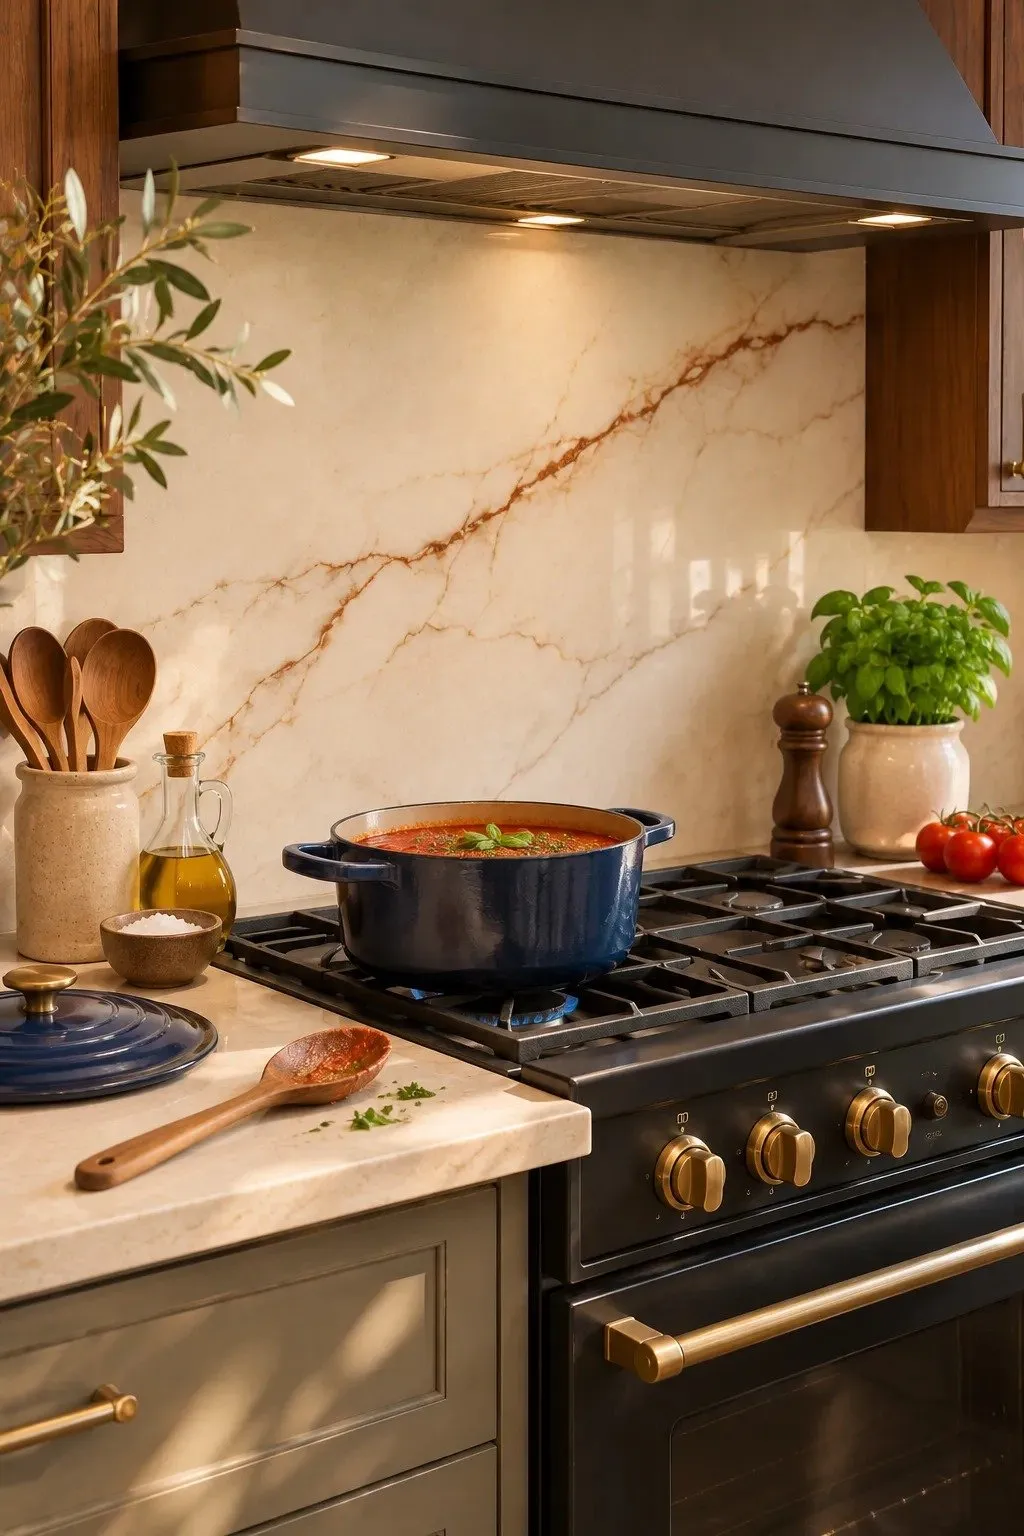
BEFORE: Tomato sauce sputters behind the stove while you stir. The tile faces wipe clean, but little red flecks cling to the recessed grout lines directly behind the burner.
AFTER: A smooth porcelain slab covers the cooking wall. Once the area cools, a damp cloth can follow a splatter from top to bottom in one pass.
Before settling on a finish, borrow a sample and dab a little of your usual pasta sauce on it. Wipe it as you would after dinner, then look at it under your range light. That small test tells you how much texture your cloth catches and whether wipe marks bother you.
Recipe Prep Trays
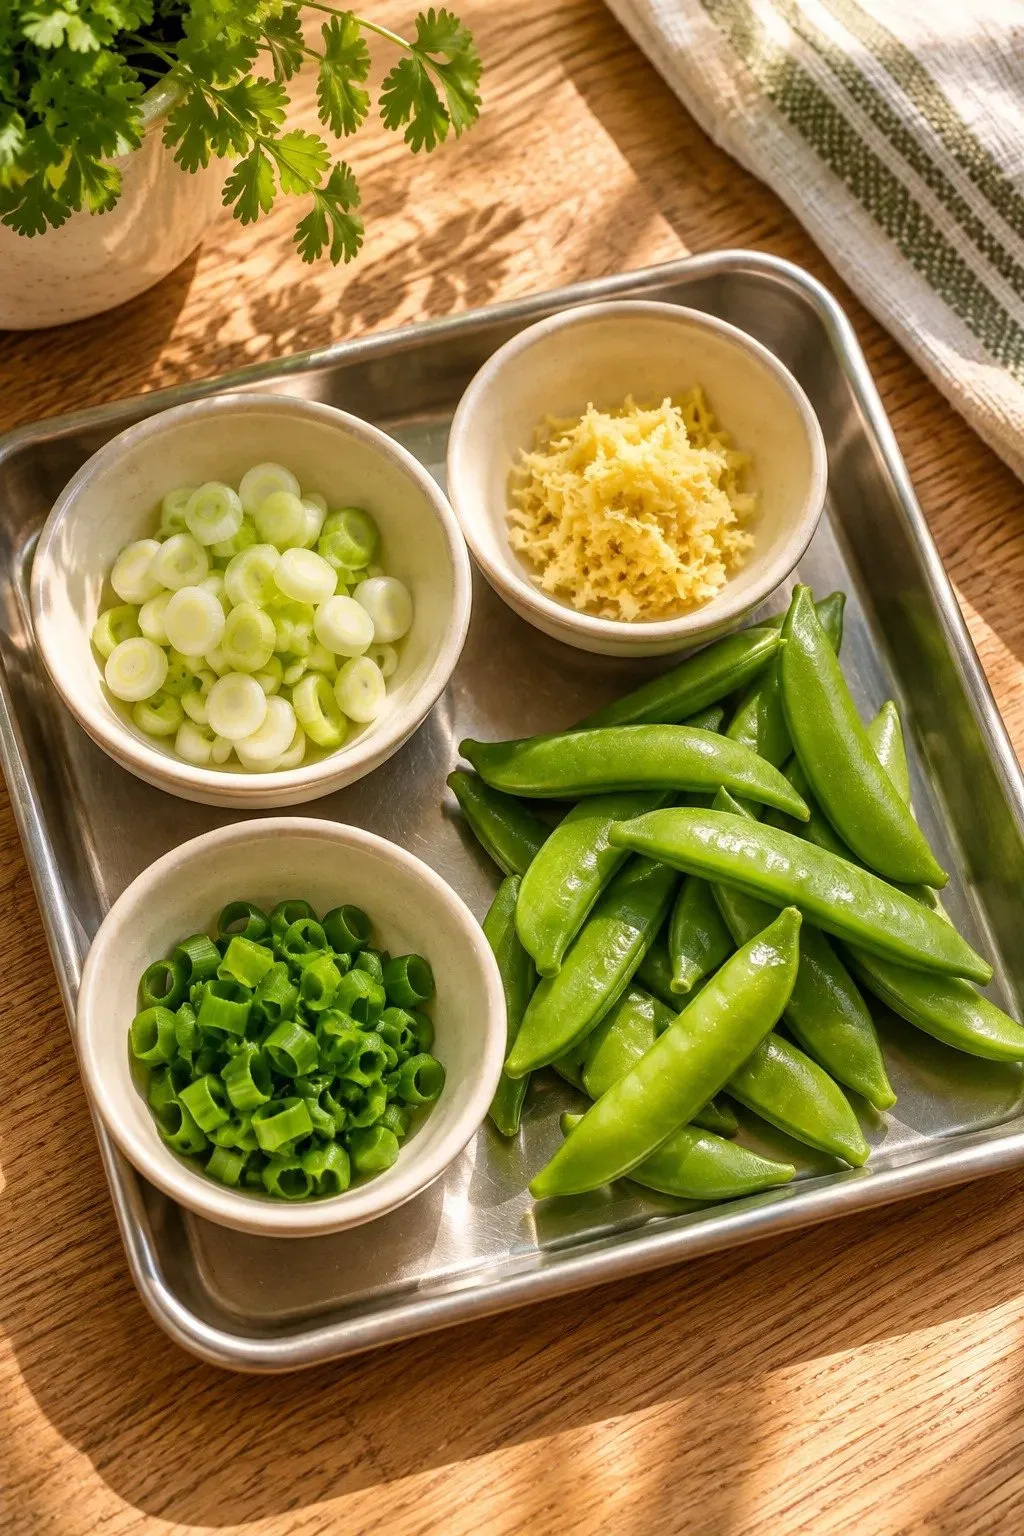
- Read the part of the recipe where everything happens quickly. For a stir-fry, that might be the minute between adding the ginger and pouring in the sauce.
- Set a small rimmed tray beside the cutting board. Place each ingredient on it as you finish chopping, grouping anything that goes into the pan together.
- Arrange the ingredients in cooking order. Keep the scallion whites near the front with the ginger and tuck the green tops at the back for finishing.
- Carry the tray to the counter beside the stove before heating the pan.
A quarter sheet pan works well here because the rim catches a rolling snap pea and the whole tray fits beside most cutting boards. Save the little bowls for ingredients you need to tip or pour. Broccoli florets and sliced peppers can sit in loose piles, leaving fewer dishes after dinner.
Double Oven Ranges
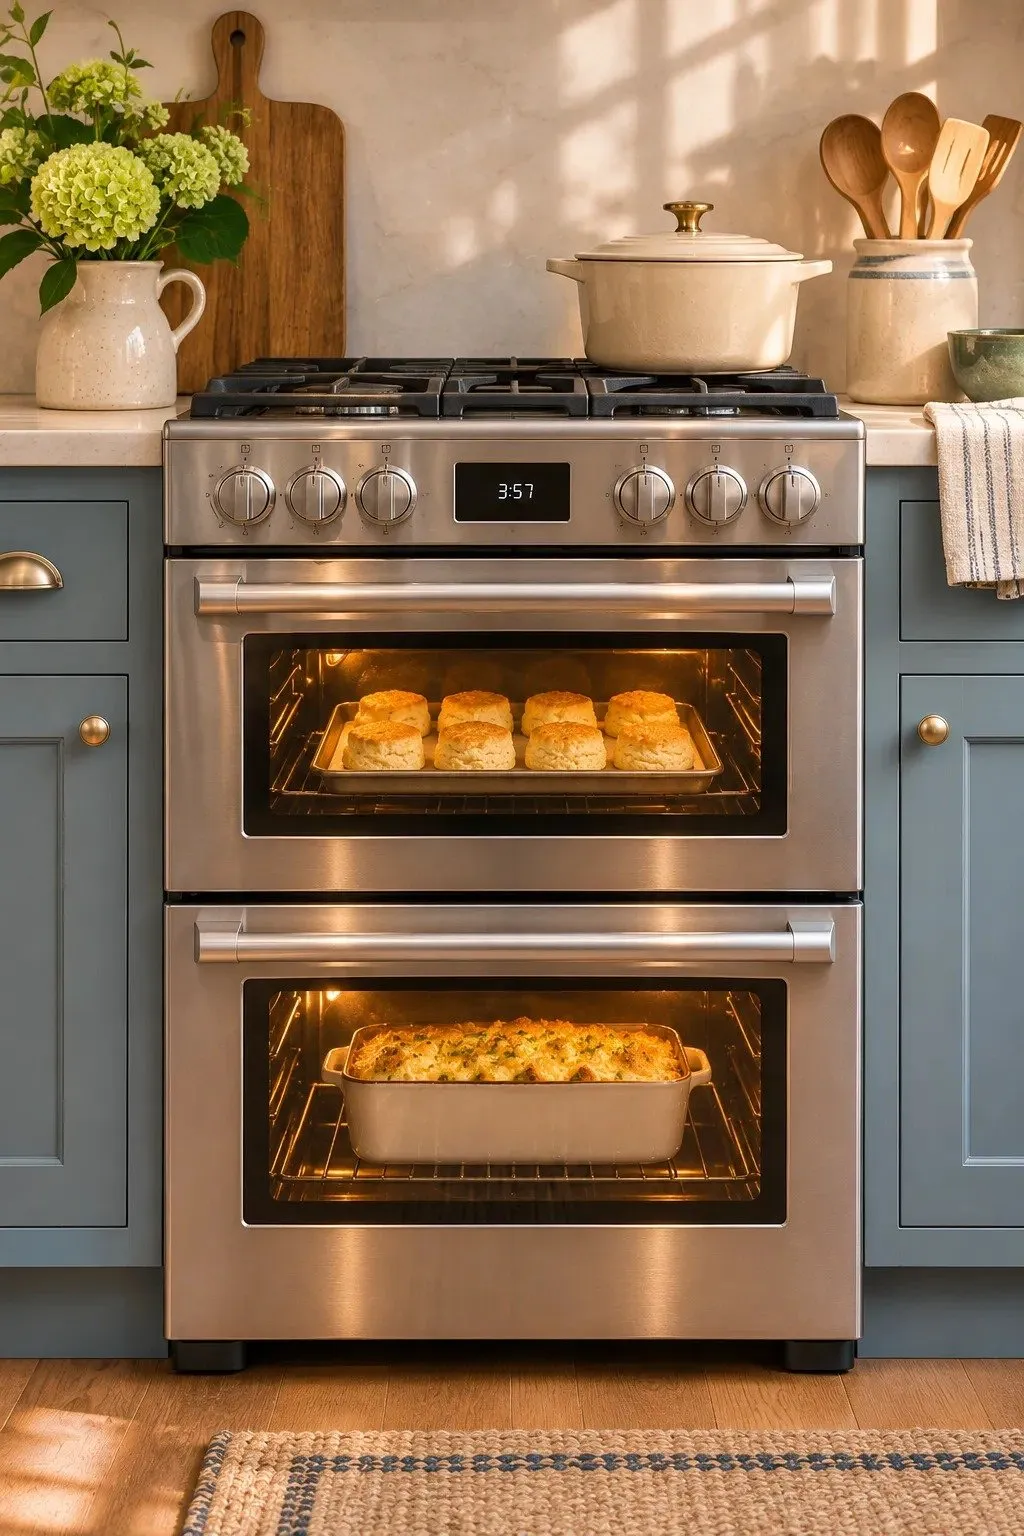
| Cooking task | Single oven range | Double oven range |
|---|---|---|
| Baking biscuits while a casserole finishes | If the recipes call for different temperatures, one dish may need to wait. | Set each cavity to the temperature its dish needs. |
| Roasting for a crowd | Moving a rack down creates room for a tall roasting pan. | Check that the larger cavity fits your roasting pan with its lid on. |
| Lifting a heavy dish | Rack position determines how far you bend to reach the dish. | The larger cavity often sits low, so test the reach before choosing a model. |
Think back to the last meal that left someone waiting for a side dish. If the rolls needed a hotter oven while the main course finished, a second cavity would earn its space. Bring your largest covered dish to the showroom and practice lifting it from the lower rack with both hands.
Clear Pantry Canisters
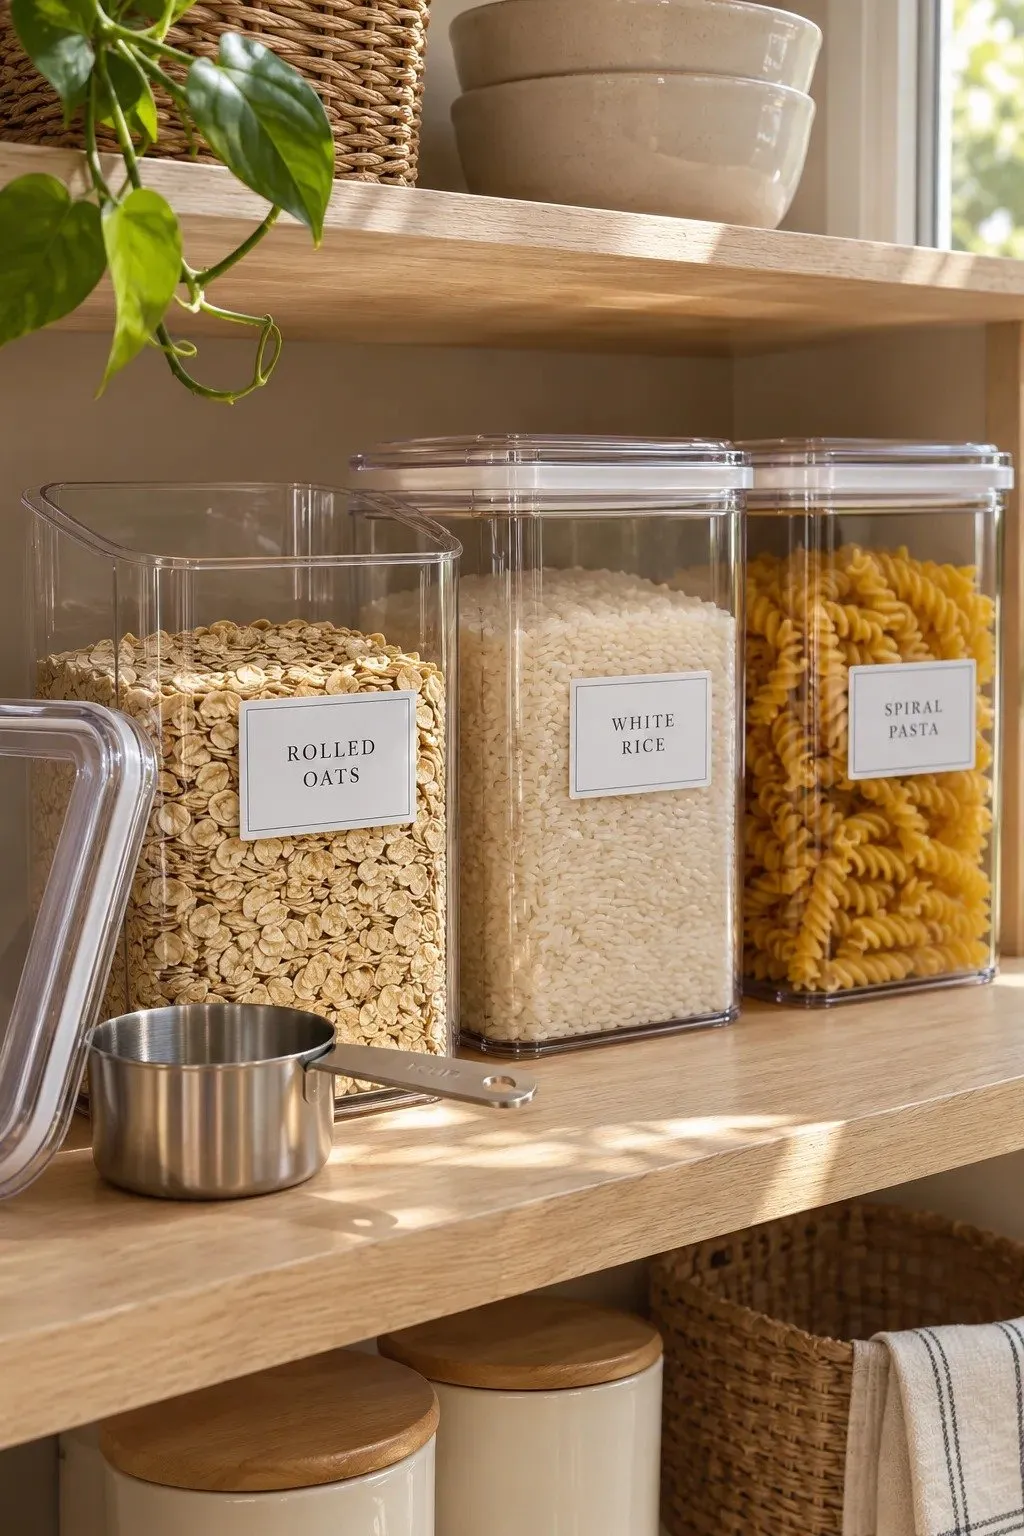
DO
- Take your usual measuring cup shopping and check that it fits through the canister opening.
- Choose a container that holds a whole refill packet with a little room to spare.
- Label similar-looking ingredients clearly, especially baking powder and baking soda.
DON’T
- Don’t discard package directions or date information you still need. Clip them to the container.
- Don’t stack a heavy canister on top of an ingredient you scoop every morning.
- Don’t fill every container to the rim. Leave room to dip and level a scoop.
Give the easiest shelf to the ingredient you measure most. For oatmeal, that means being able to open the lid, dip in a half cup, and level it without taking the canister down. Line the containers up by frequency of use, even if that breaks the neat progression from short to tall.
Tiered Cooling Racks
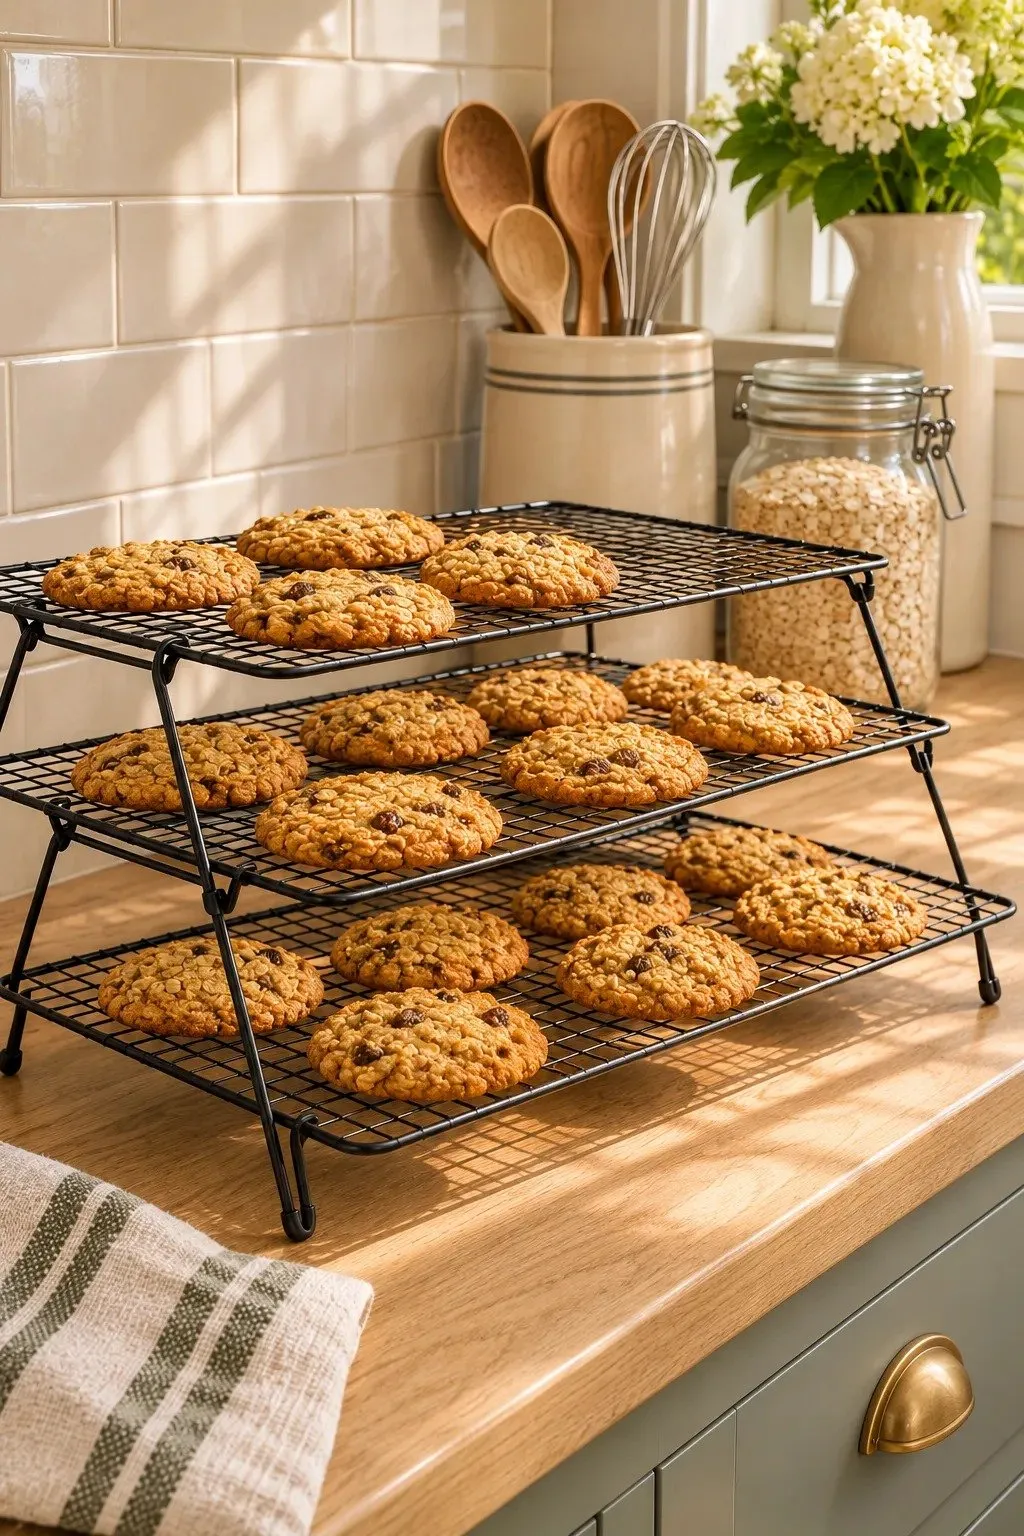
Best for: A second batch of cookies coming out while the first batch still covers the counter.
Counter space: The footprint of one rack, plus room beside it for the incoming baking sheet.
Useful clearance: Enough space between tiers to slide a cookie in on your widest spatula.
Storage: Folding legs let the racks lie flat between baking sessions.
Set up the bottom tier first and fill it before stacking the next rack. It’s easier to place soft cookies from above than to thread a loaded spatula between two tiers. If you also bake tall muffins, check the gap with an actual muffin in its paper liner before buying a set.
Built-In Griddles
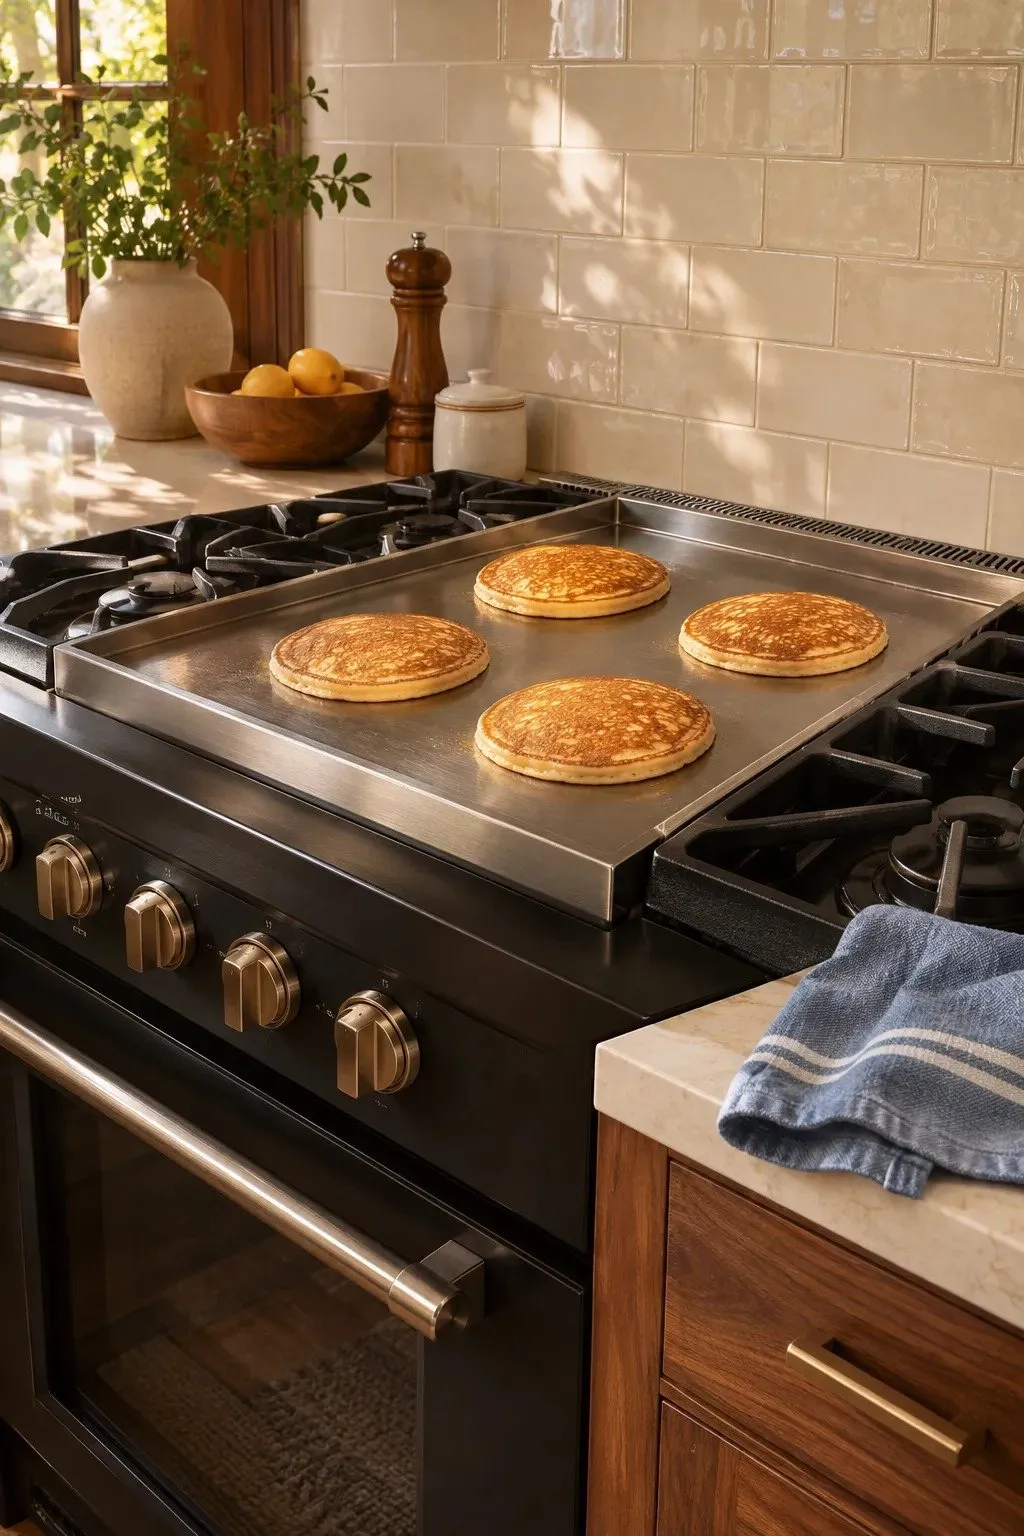
The first pancake is already cold by the time the last one leaves a small skillet. A built-in griddle gives you a broad, flat surface for cooking several at once. Look for enough space between portions to slide a spatula underneath and turn each pancake without nudging its neighbor.
Before giving up burner space, set your two widest pots on the range you’re considering. Check whether their handles crowd the griddle while you flip or scrape. Then look at how the grease tray comes out. You’ll use that plate more often if cleaning up is as easy as making breakfast.
Pullout Produce Baskets
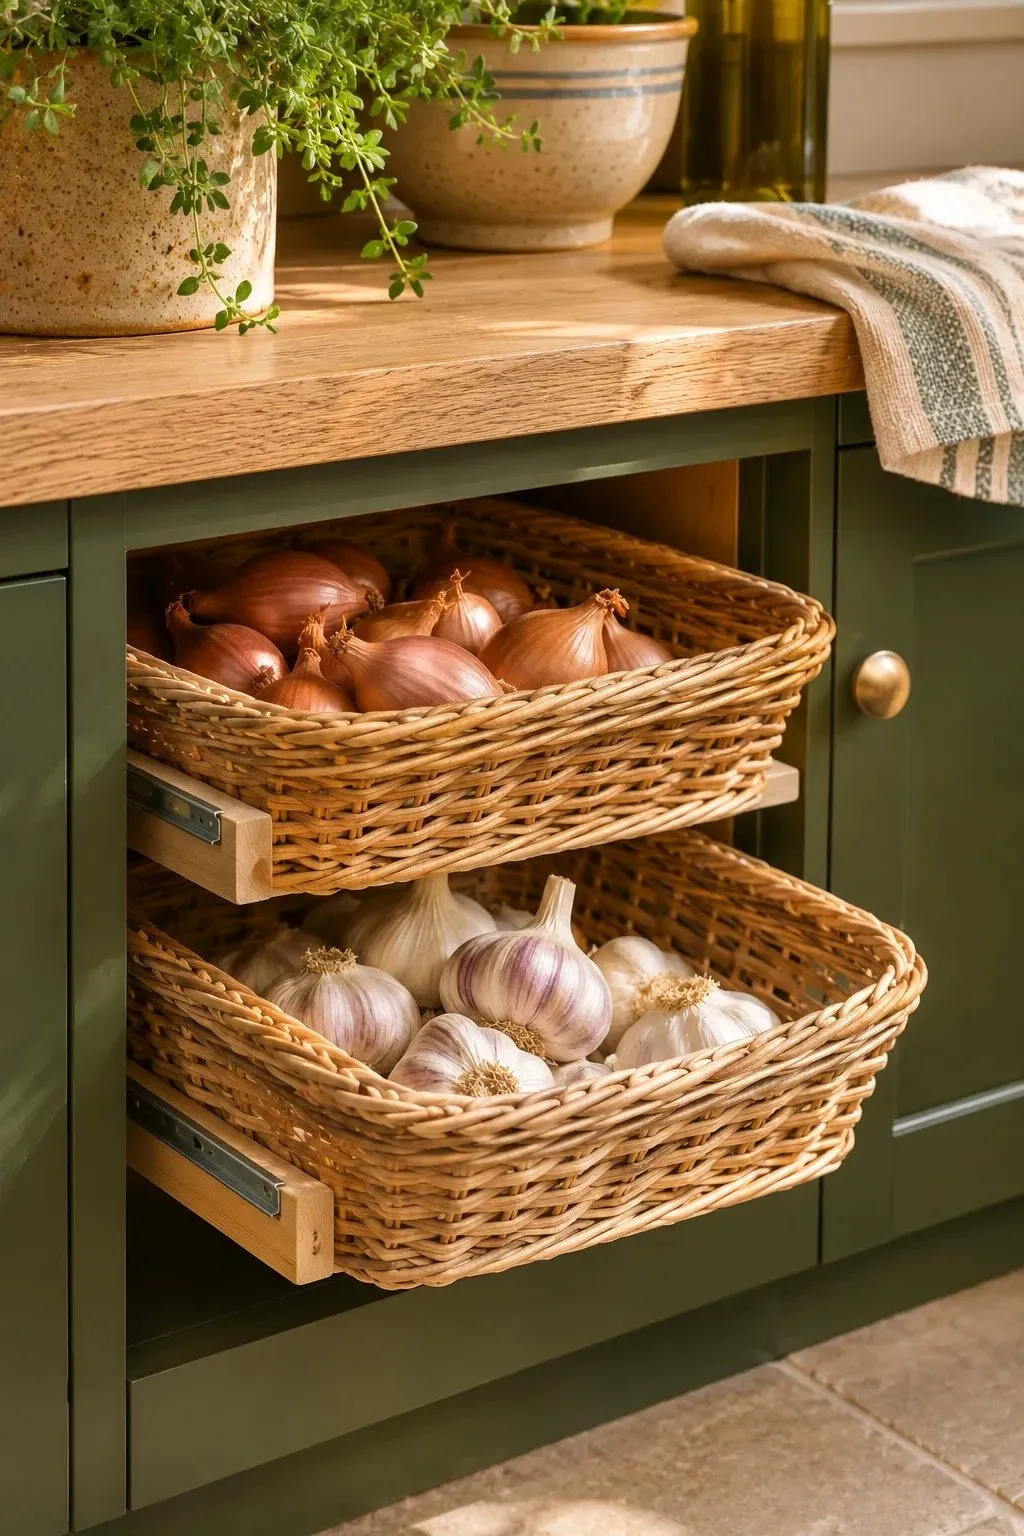
- Give loose shallots a shallow basket so the last few stay visible when you pull it forward.
- Choose a weave tight enough to hold your smallest garlic bulbs and a basket light enough to lift out for cleaning.
- Keep the baskets in a cool, dry cabinet away from the oven and direct afternoon sun.
- Brush out loose skins before adding fresh produce. Move older bulbs to the front where you’ll reach them first.
Start with the amount you actually bring home from the store. Two heads of garlic can disappear in a deep bin, while a small open basket keeps both in sight. Leave enough clearance above the rim to reach in and pick up a single bulb without scraping your knuckles.
Pass-Through Serving Shelves
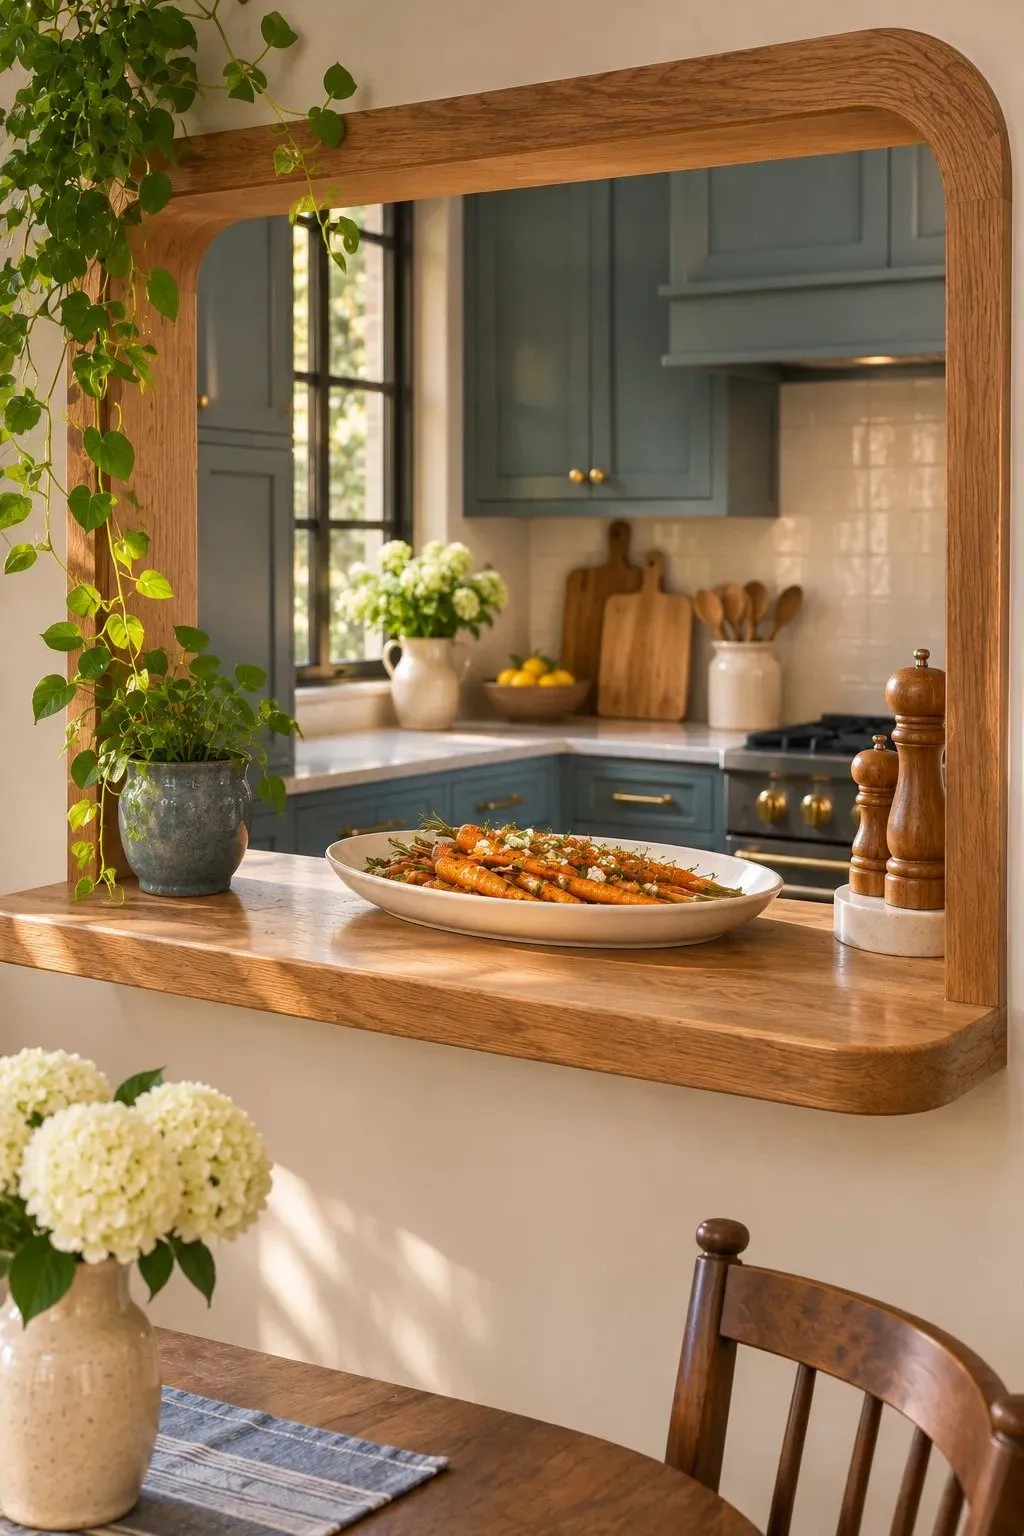
Quick Tip:
Set your widest serving platter on a piece of cardboard and trace the shelf depth around it. Leave room to grasp the rim from either side, then test the cardboard at the opening before cutting the shelf.
A pass-through earns its place at taco night, when six little bowls need to reach the table while the tortillas are still warm. Set the toppings on the shelf as you finish chopping. Someone on the dining side can carry them over while you stay at the stove for the last batch.
Island Prep Sinks
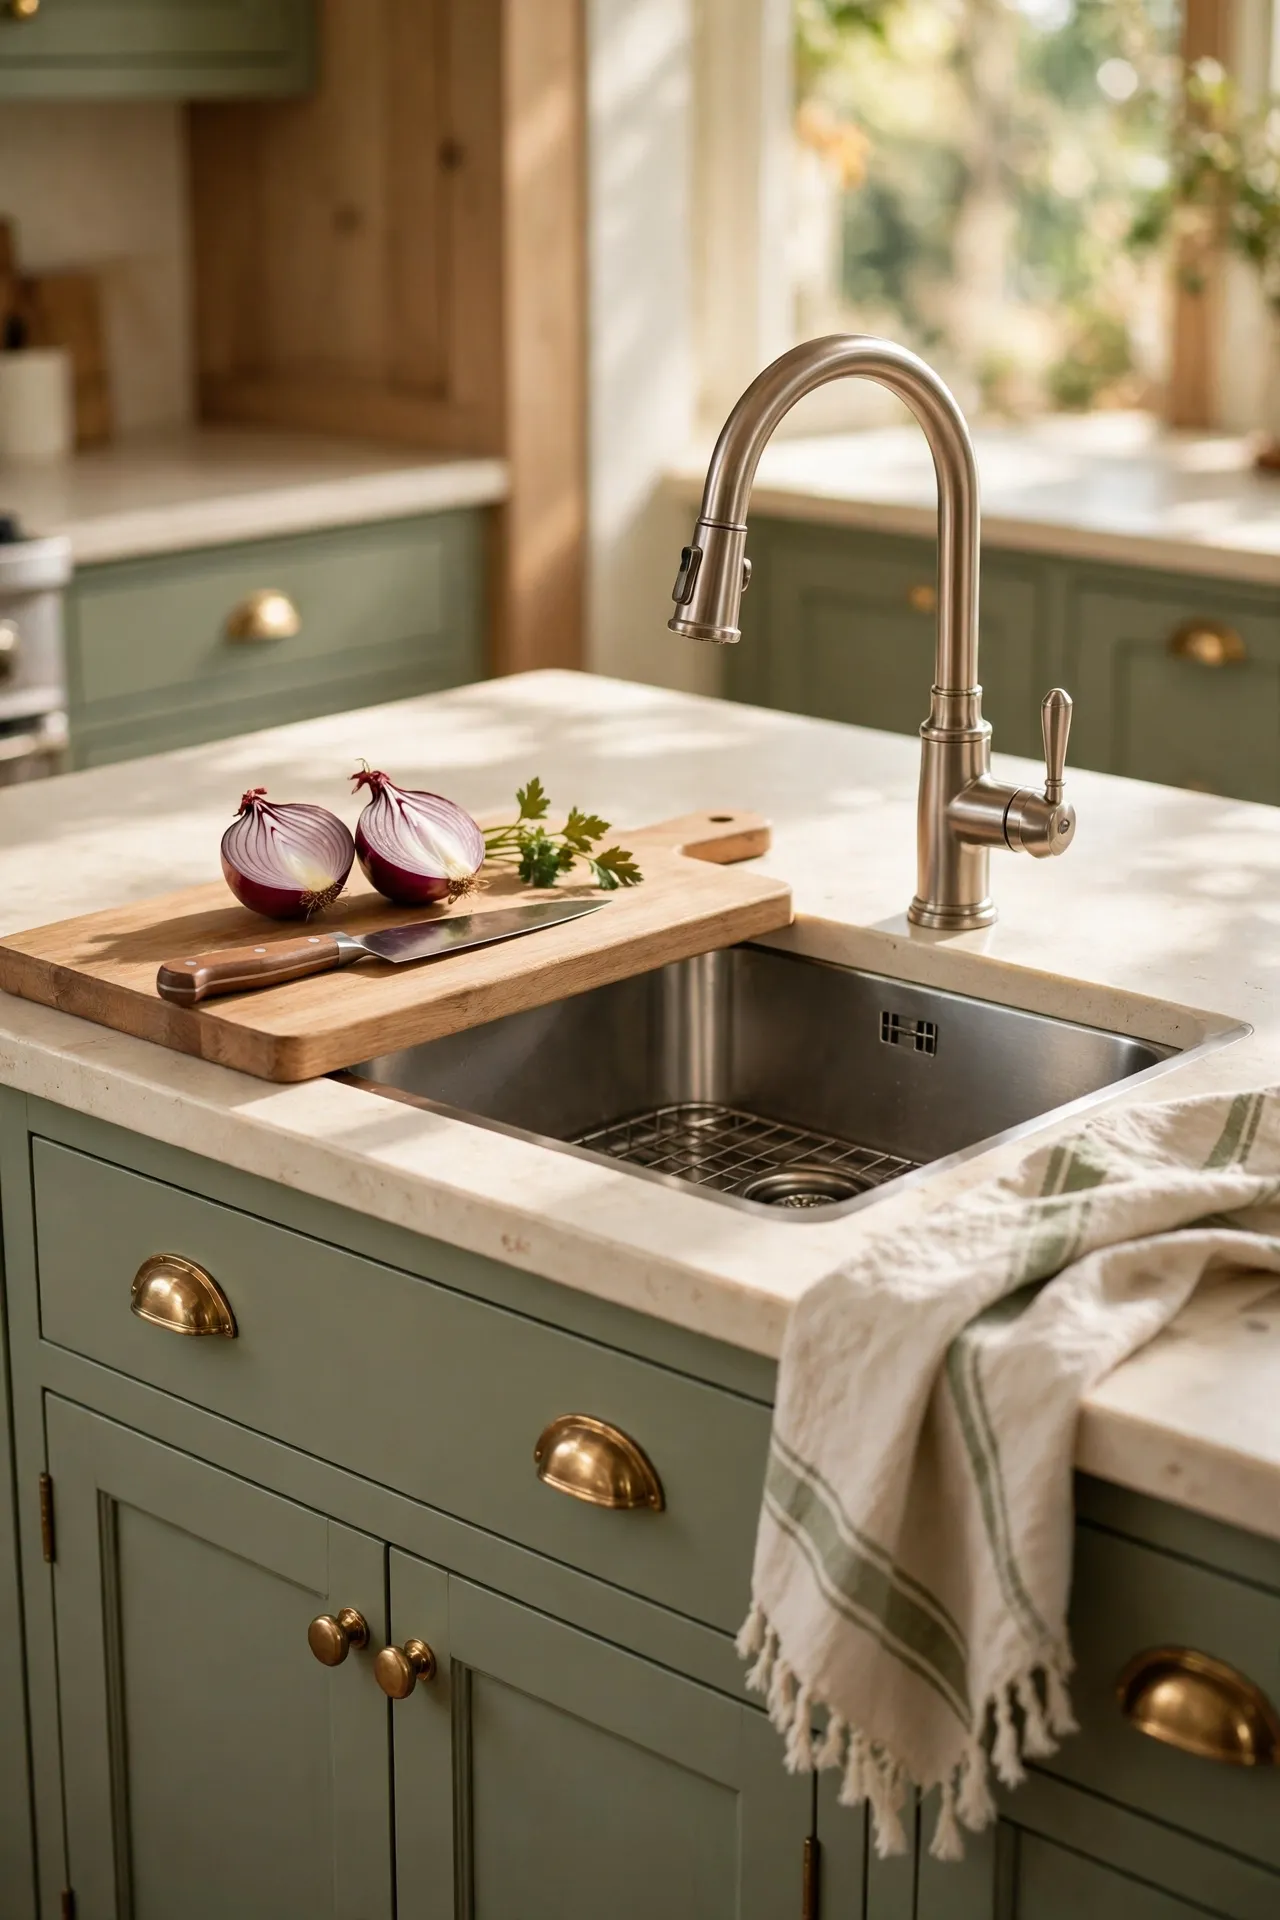
BEFORE: Dinner stalls while one person rinses rice and the other waits with a colander of green beans. There’s plenty of room for two people to chop, but both need the same faucet to get started.
AFTER: One cook rinses the beans at the island and tips them straight onto the cutting board. The other can finish draining the rice at the main sink without either person stepping aside.
Before settling on a basin size, set your everyday colander inside the display sink and check that it sits level beneath the faucet. Then lay your cutting board beside it. The most useful spot for the sink leaves you a full board’s width of uninterrupted counter on your preferred chopping side.
Magnetic Meal Planners
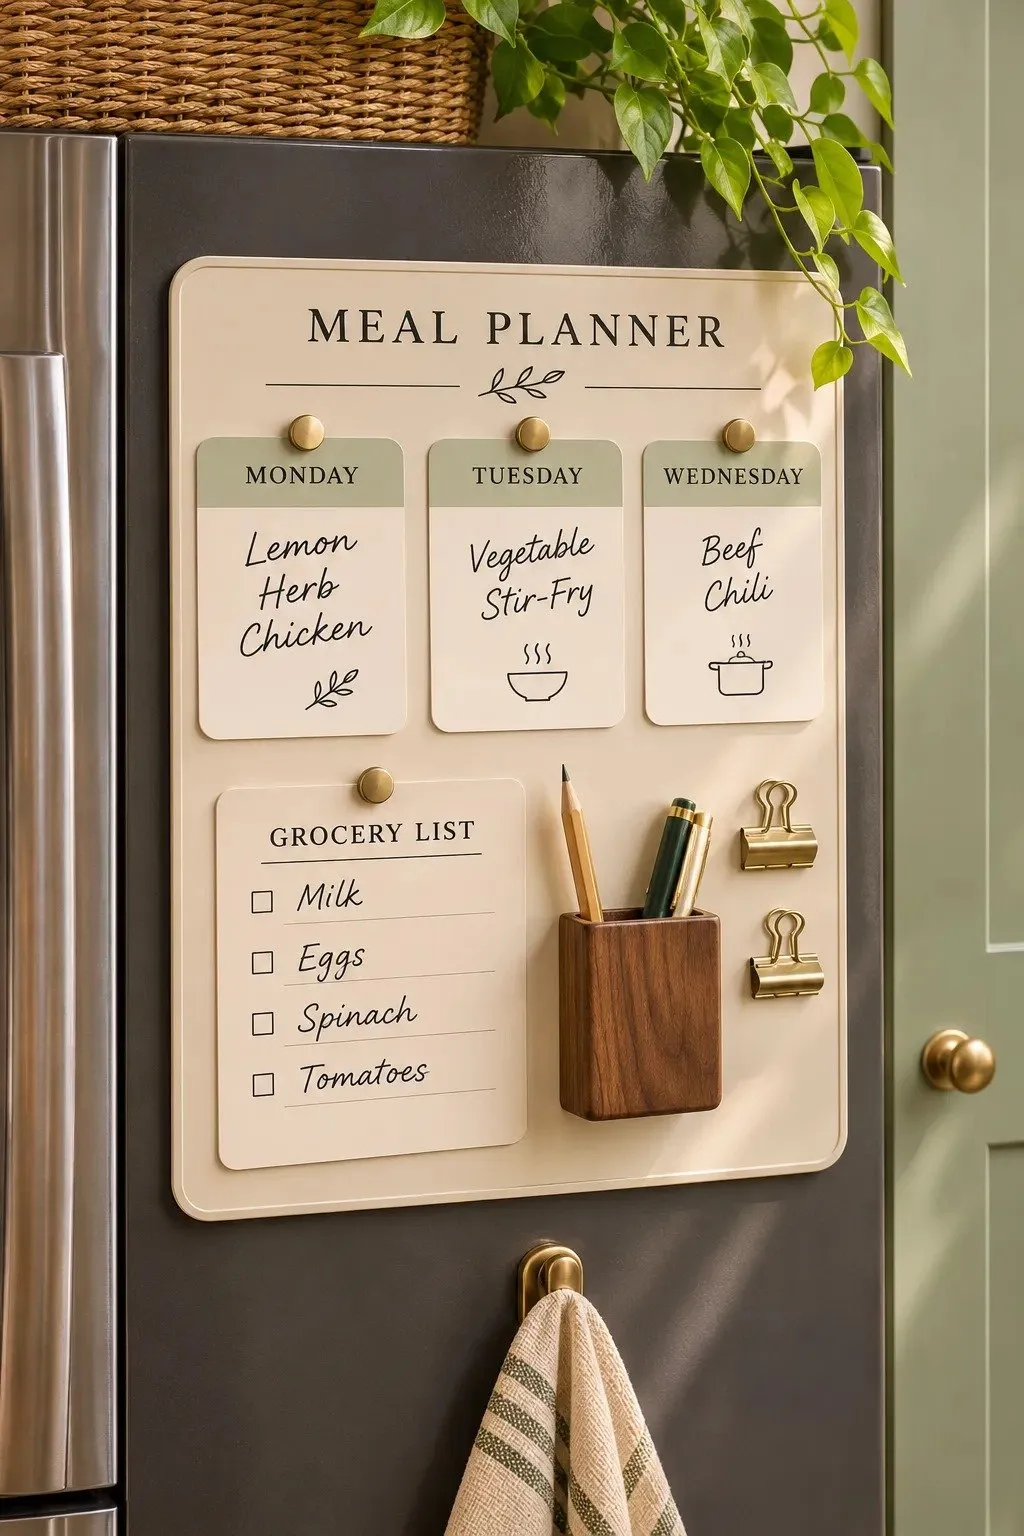
- Start with the ingredient you’d hate to find wilted on Friday. Write one dinner around it on a card and put that card in the first available spot.
- Add two more dinner cards that share an ingredient. A bunch of cilantro can finish black bean tacos one night and go into peanut noodles the next.
- Clip a short grocery list beneath the cards. Check the fridge and pantry before writing down what each meal needs.
- Leave one evening open. If plans change, slide a card across instead of rewriting the week.
Place the board where you can read it with the refrigerator door open. That lets you glance from the plan to the shelves while checking what’s on hand. If the fridge front won’t hold a magnet, test the side panel before buying a board or choosing its size.
Bridge Induction Cooktops
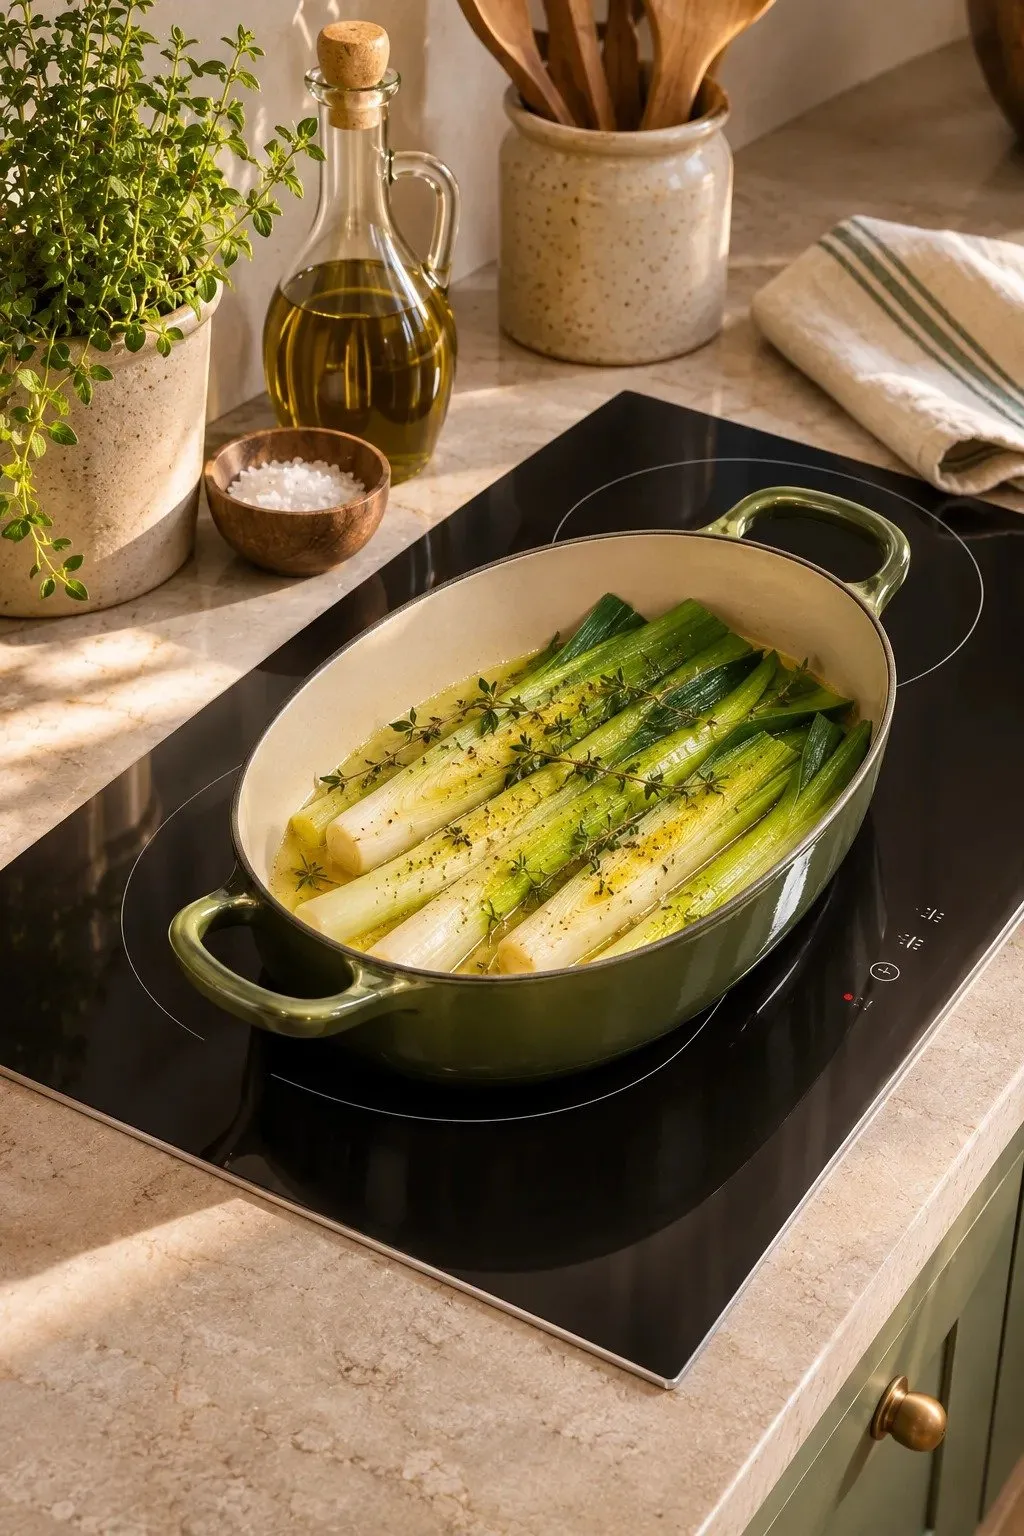
| Cooking detail | Separate induction zones | Linked induction zones |
|---|---|---|
| Pan arrangement | Center a saucepan on one zone and a skillet on another. | Place one compatible long pan across the designated pair. |
| Heat control | Adjust each pan independently as its contents cook. | Adjust both zones together with one setting. |
| Best meal fit | Simmer rice while mushrooms brown at a different setting. | Lay leeks or asparagus lengthwise in one broad pan. |
The rim of an oval braiser can be much wider than its flat base. Measure the part that actually touches the glass, then compare it with the cooktop maker’s guidance for the linked zones. If you usually cook with two round pans at different temperatures, check how easily the controls switch back to separate settings.
In-Drawer Knife Blocks
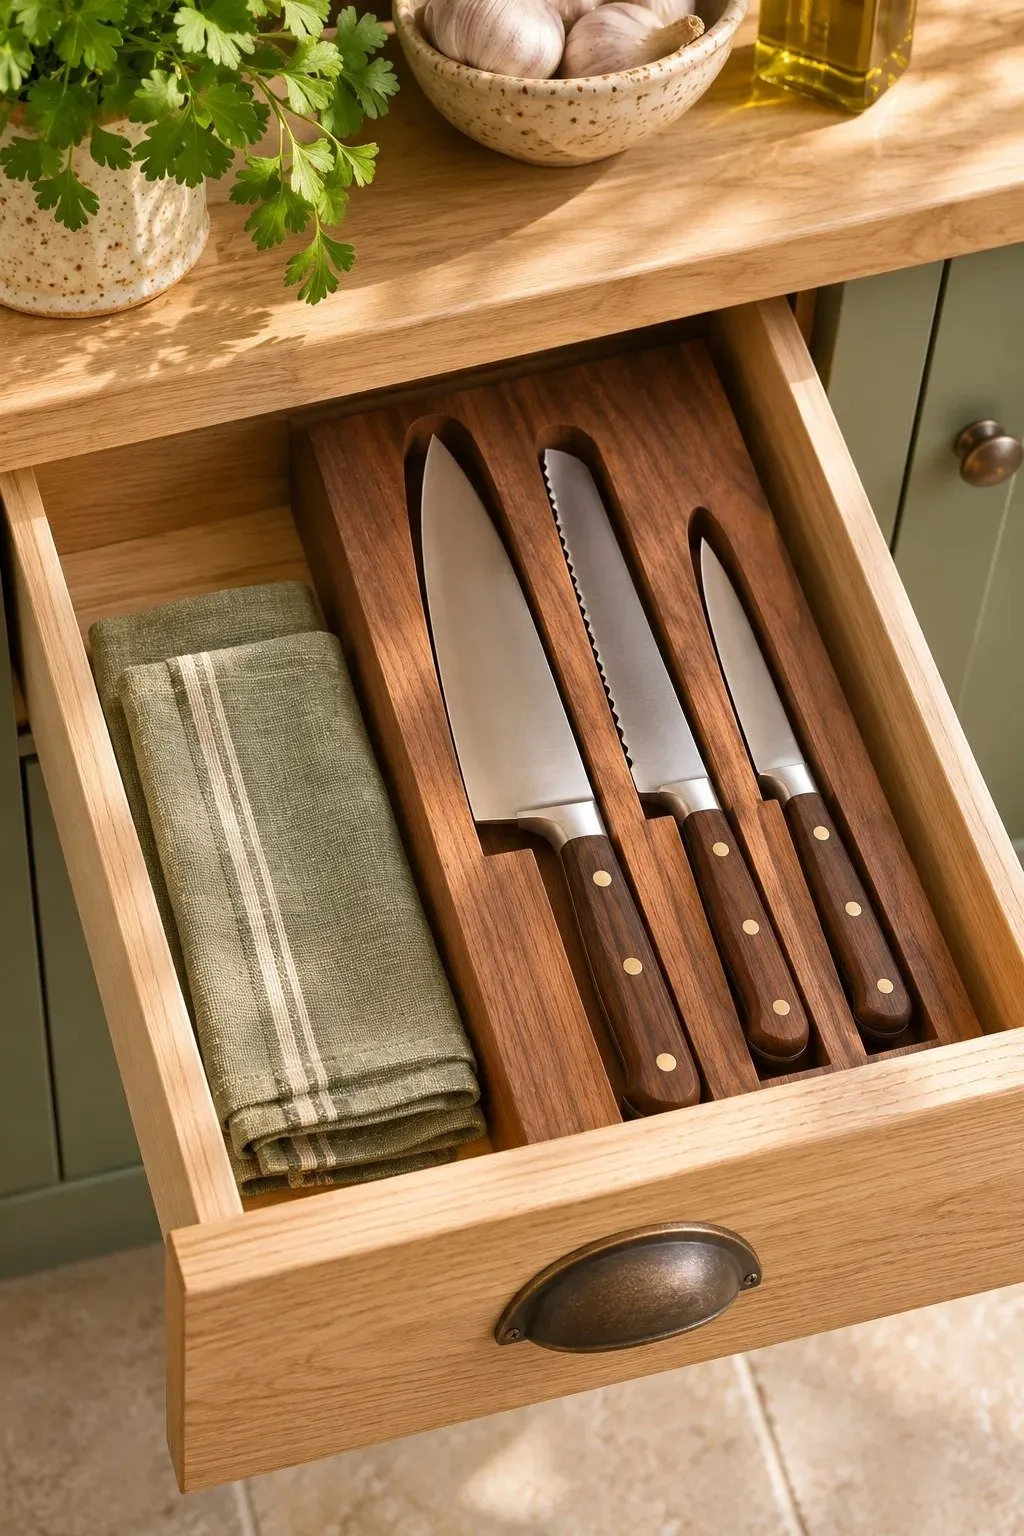
DO
- Give the knife you reach for every night a slot you can recognize by touch at the handle.
- Measure your longest blade and widest handle before choosing the insert.
- Place the block in a drawer you can open while your cutting board is on the counter.
DON’T
- Don’t force a broad chef’s knife into a slot made for a narrow blade.
- Don’t crowd the handles so closely that lifting one shifts the knife beside it.
- Don’t leave the block loose if it slides forward each time you open the drawer.
The measurement that’s easy to miss is height. A knife may fit the slot from tip to heel while its handle stands too tall for the drawer to close. Lay a ruler across the top edges of the open drawer to see whether any handle rises above that line.
Under-Cabinet Jar Openers

Best for: The stubborn jar lid that holds up dinner after the pasta is already bubbling.
Placement: Beneath an upper cabinet, within comfortable reach of both hands.
Fit check: Enough open space below the grip for your tallest jar.
Visibility: A spot where you can see the V-shaped opening without leaning back.
Hold a closed jar in the proposed spot before mounting the opener. Check that you can guide the lid into the wide end of the grip and turn the glass with both hands. Leave room to lower the jar straight onto the counter once you feel the lid release.
Folding Pot Fillers
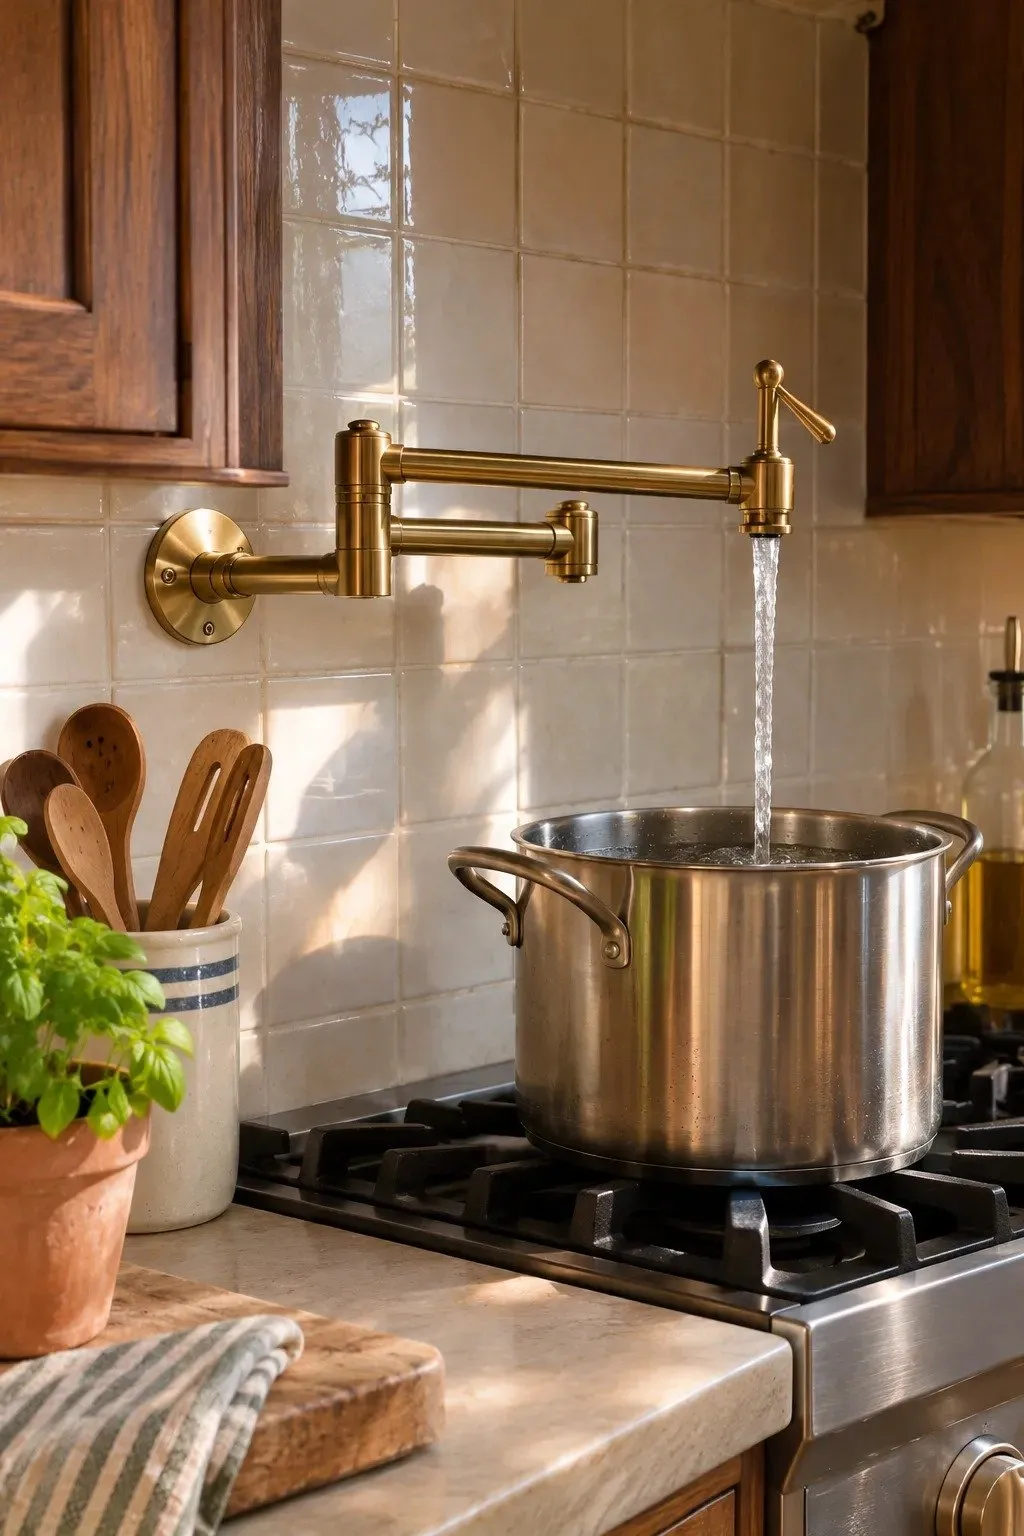
A folding pot filler is one of the few kitchen trends you can size up with an empty stockpot. Set yours on the burner you use for pasta, then measure from the wall to its center. That distance tells you how far the faucet arm needs to reach.
Check that the spout clears the rim and the arm folds back against the wall. Filling the pot at the stove saves one heavy lift. To make draining easier too, use a pot with a pasta basket. You can lift out the spaghetti and leave the water to cool.
Conclusion
Let your next weeknight dinner help you choose which kitchen trends to try. If you spend more time hunting for the right pan than browning the onions, start by storing your sheet pans upright. If you keep clearing a corner to chop vegetables, measure that spot for a fold-down table. Save this post on Pinterest so your favorite ideas are handy when you need them, and share it with someone who loves to cook but is short on counter space. Pick one change to try this week and put it to work on a meal you love.
